If you are wondering how to permanently straighten your hair at home, you have come to the right place! This guide will tell you more about this process and how you can easily achieve a perfectly straight look all by yourself.
I am all about embracing natural hair, but having perfectly straight hair for longer periods of time does sound tempting every now and then. I bet that a lot of you out there have tried countless products to make your hair look as straight as possible — I have done that too, but none of those products I tried worked as well as these permanent straightening solutions.
At first, I thought that this look was not achievable at home and that I would have to pay a professional hairstylist hundreds of dollars to help me make my hair straight. However, it turns out that everyone can achieve perfect, permanently straight hair at home if they only follow the right steps.
After countless hours spent in research, I have come up with the perfect eight-step routine that will help you make your hair permanently straight at home. So, if you are truly prepared to make this commitment, let’s go over this step-by-step guide to see just what you need to do to achieve long-lasting straight hair!
Table of Contents
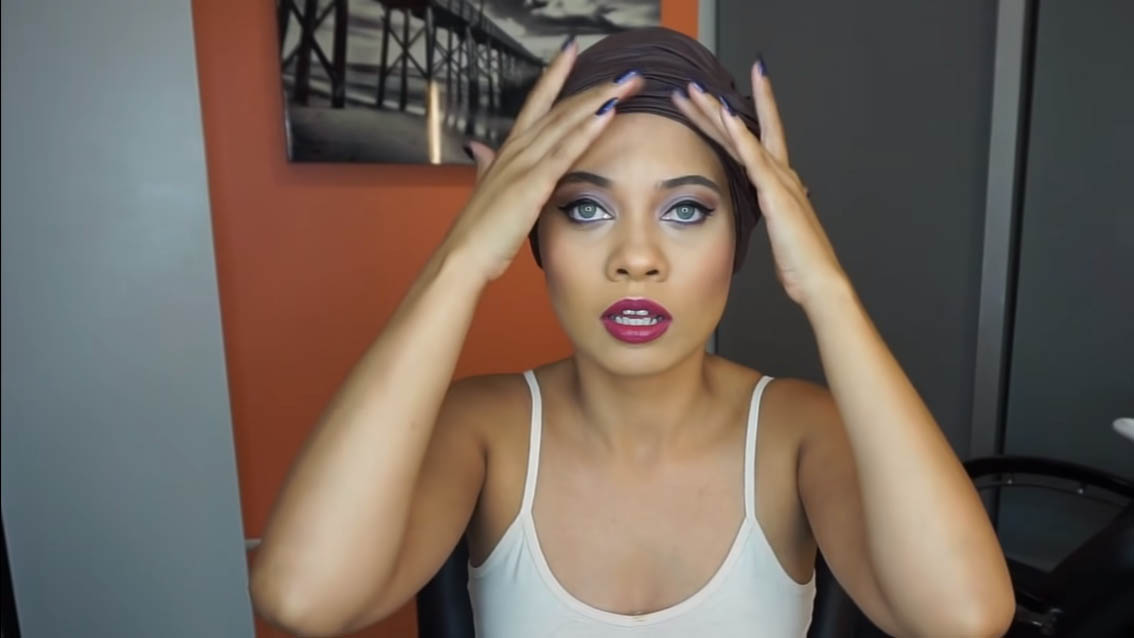
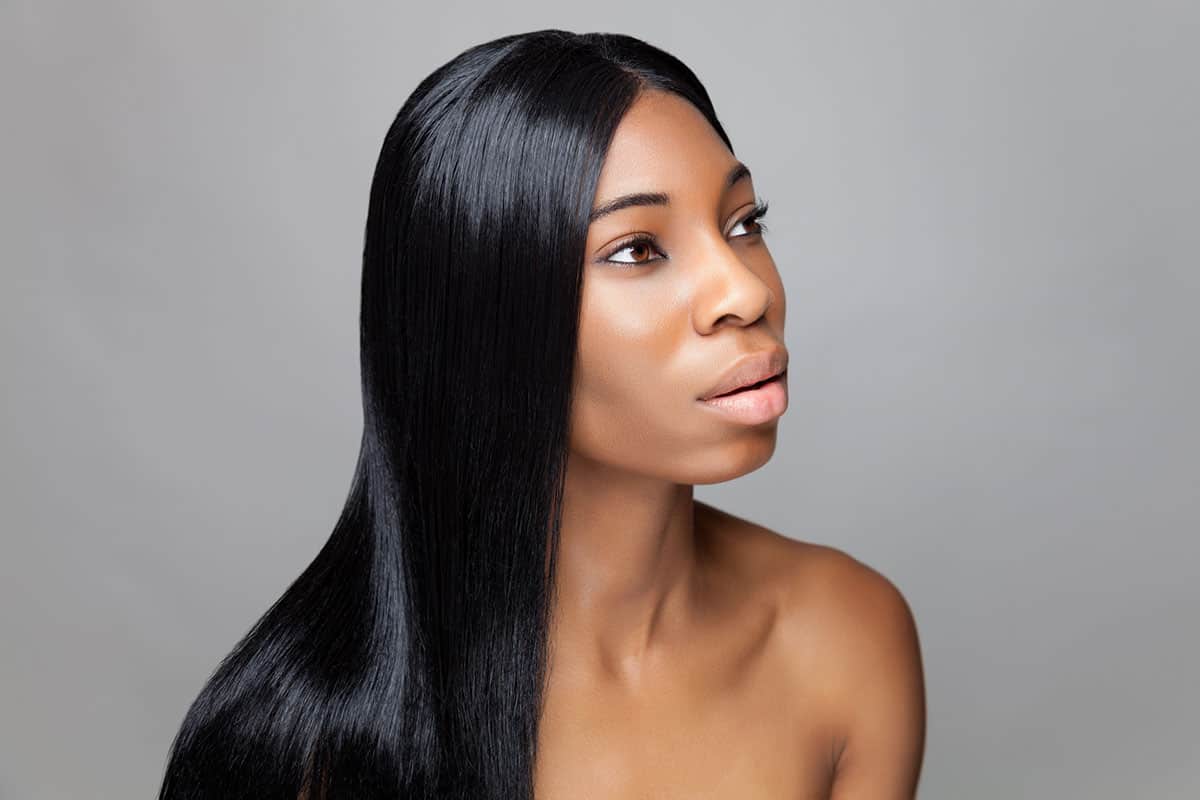
How to Straighten Hair at Home Permanently
There are a ton of permanent straightening solutions — from Japanese straightening to hair relaxation and keratin treatments. You can find a lot of information on all these straightening solutions, but one of the first things you will come across is the advice to have a professional do the process for you.
Yes, professional hairstylists can do wonders for your hair, but that does not mean that you cannot learn to do the same at home by yourself. I have come up with the perfect eight-step process to permanently straighten hair and make it look as if you just left the best hair salon in town.
I do not want to keep you waiting or guessing any longer, so let’s get right into the process and see just what you need to do to straighten your hair permanently at home!

Step 1 – Find the Perfect Straightening Solution
Unless you do your research and find a straightening product that will fit your hair best, this process can quickly turn sideways. There are two options that you should look into: the keratin treatment and the chemical straightening treatment.
Keratin treatments are more suitable for those who have colored hair or hair that is otherwise over-processed. This treatment is semi-permanent, which means that it will last for six to seven months, and then your hair will go back to normal.
On the other hand, chemical straightening is more suitable for those who have completely natural, virgin hair. This treatment is permanent, which means that it will last until the straightened hair grows out.
You can either do the research yourself and figure out which solution is best for you or consult a professional before you get to straightening. Once you are sure you have the solution you need, you can start with preparations for the straightening.
Step 2 – Prepare Your Hair
The application process needs to be spotless if you want to get the best results. That means that you will be better off dividing the hair into sections so that you can make sure to access every part of your hair.
Brush your hair thoroughly and get rid of any tangles, then divide the hair into sections and get ready to move on to the next step.
Step 3 – Apply the Straightening Product
When applying the straightening solution, you should go section by section and make sure that you apply enough product on each section to thoroughly and evenly coat your hair. Just like you would when bleaching hair, apply the solution to the mid-sections and the ends, leaving one inch of hair from the scalp without any product.
On each product, there will be instructions that clearly state how long you should keep the solution on your hair. It is usually advised to keep it on your hair anywhere from 20 to 45 minutes for best results, but the time can vary depending on how curly or how long your hair is.
If you want to, you can also put a disposable processing cap on your hair or try to gently comb through the hair to make sure that it is not tangled anywhere. This will help get the hair completely smooth and avoid unwanted breakage.
Step 4 – Rinse the Hair
Once the solution has done its job, and you have made sure that the hair is untangled and straight, you can rinse the solution out of the hair. I would advise you to use lukewarm water only when rinsing the hair. Since it is in a fragile state, you would not want to cause damage by going in with hot water or shampoo.
Thoroughly rinse your hair and make sure that there is no product left on it before you proceed to the next step.
Step 5 – Dry the Hair
It is very important to completely dry your hair and not leave any section of it damp or wet. You can use a round brush if you want to, but make sure that you are being gentle and not pulling too firmly on the hair.
Step 6 – Straighten the Hair
Even after applying the straightening product and keeping it on for the instructed amount of time, chances are that your hair will not be completely straight. What the steps so far have done is break the existing bonds in the hair. This next step is very important — you will help the hair form new bonds, which will make it straight for the foreseeable future.
After using the straightening solution, rinsing, and drying the hair, you need to use your straightener and set the hair how you want it to look in the future. For this section, I advise you to section the hair into small sections and, using the flat iron, go over each section from the roots to the ends anywhere from two to four times.
If you have thicker or longer hair, it might be a good idea to have someone help you with the straightening because any part that you miss will stay wavy for as long as the solution lasts.
Step 7 – Apply the Neutralizing Cream
You are getting so close to the end of the process! Section your hair again to prepare to apply the neutralizer cream to all of your hair. Unlike the previous straightening solution, you can use the neutralizing cream on the roots as well, so you do not need to worry about that!
Usually, it takes only five to six minutes for the neutralizer cream to do its magic. Still, this is not a general rule, so do check the instructions for the products you have and keep the product on for as long as they say.
Step 8 – Final Rinse and Dry
The neutralizer cream needs to come off after the instructed amount of time, which means that you will need to thoroughly rinse your hair again. Do not use any shampoo or other products on your hair during or after the wash. You only need some lukewarm water to get the product out of the hair.
Once the rinse is done, you can air dry or blow-dry the hair. Do not be alarmed if the hair looks a bit lifeless at this point — depending on the products that you use, it might take a couple of weeks before your hair gets its bounce back.
How to Take Care of Permanently Straightened Hair
After permanently straightening my hair for the first time, there were several things that I learned that helped me keep my hair intact and not ruin it completely. To help you keep your hair in the best shape, I will tell you more about how you should take care of it after you complete the straightening process.
First off, you should not wash your hair or use any heating tools on it for at least a couple of days after the straightening treatment. For the first three days, it is best if you refrain from using any hair products.
Another thing that I learned about permanently straightened hair is that it should not be washed with anti-dandruff shampoo. Some of the straightening products do not allow the usage of such a shampoo because it could reverse the straightening.
If you are planning on straightening your hair permanently at home, check the instructions and recommended aftercare of your particular product to make sure that you know everything you need to make your hair look flawless!
Frequently Asked Questions
This eight-step process should do wonders for your hair if you follow all steps correctly. At this point, your hair should be even straighter than you thought it would be!
I know that it might be hard to keep your eyes off the mirror since you must be still admiring your hair at this point, but bear with me for a little while because there are still some things you need to know about this whole process.
Are there any side effects of permanent hair straightening?
Yes, there are certain side effects that can appear after permanently straightening your hair. First, the process will drain the natural oils from the hair and cause it to become weak and prone to breakage. That means that you will have to be very gentle with your hair after doing the straightening process.
Some of the other side effects that might appear after this process include frizziness, dullness, hair loss, less hair growth, itchy scalp, as well as change in your hair texture. But — no need to fear, with proper treatment, you can keep your hair healthy and shiny.
Can I apply oil after permanent hair straightening?
I would advise you to steer clear of any oil treatments or oil-based masks for at least a week after doing the permanent straightening. After the treatment takes full effect, you can certainly use any kind of hair treatment you want to make your hair healthy again.
With that being said, if you experience an itchy scalp or weak hair, you can try applying some warm coconut oil or maybe even olive oil to the hair and letting that sit for a while before washing your hair thoroughly. Just make sure that you do not do this in the first week after chemically straightening your hair!
What is the safest hair straightening treatment?
If you are still trying to decide which straightening treatment to use on your hair, I advise you to look into keratin treatments because they are certainly the safest permanent hair straightening solutions at the moment.
The reason for this is keratin — keratin is an ingredient that your hair already contains, but that ingredient is stripped from the hair during the straightening treatment. If you do a treatment that contains keratin, you will protect your hair from too much damage and help form strong bonds in the hair strands.
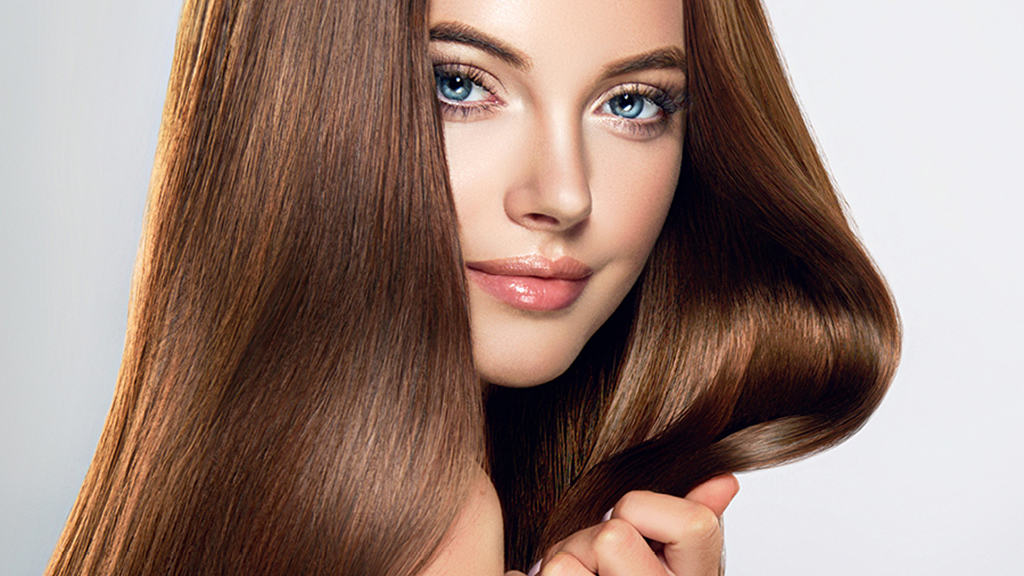
Straighten Your Hair at Home Without Any Worries!
I have told you everything that you need to know about how to straighten hair at home permanently. I hope that by closely following these steps, you will achieve the perfect straight look that you are going for!
With that being said, everyone’s hair is different, so make sure to use products and treatments that will fit your hair texture best. Let me know in the comments if you have any negative or positive experiences with permanent straightening treatments. I look forward to reading your comments and learning more about your hair journey!
0