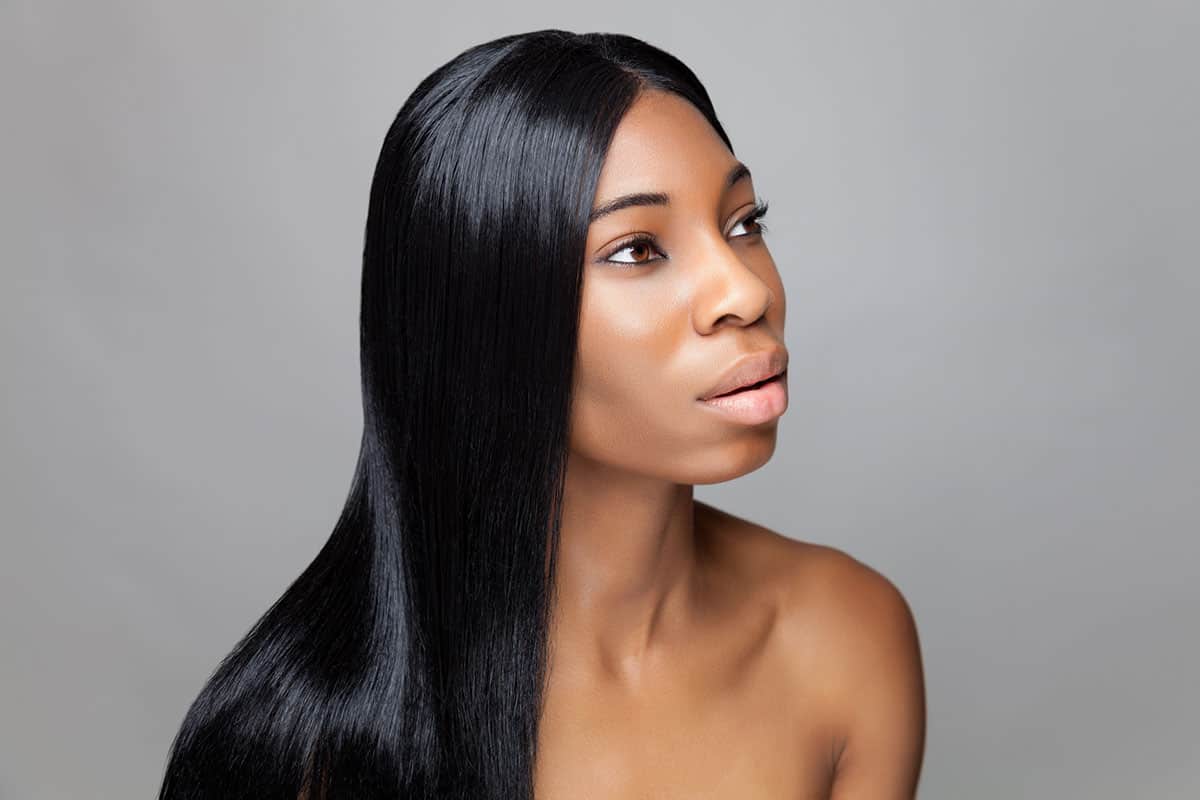
Proudly rocking your natural black hair with all its volume and curls is a great thing to do, but it is also nice to change things up every once in a while. If you have natural curls, the most drastic change you can do to them is to straighten them out completely. In today’s guide, I am going to tell you all about how to straighten natural African American hair in just a few short steps.
Table of Contents
Introduction
Back in the day, curly-haired ladies could not easily straighten their hair. There were a few straightening procedures, but they all required a lot of time and they left the hair looking lifeless and completely burned. Thankfully, we can all put those procedures behind us and focus on easier straightening methods – for example, the flat iron!
Yes, there are a ton of heat tools that you can use to turn your 4C curls into straight strands. There are also some semi-permanent and permanent straightening solutions that you can use, but if you are looking for something simple that you can do on yourself at home, then the flat iron is the tool for you!
With so many flat irons to choose from, you can easily find a quality one that will work wonders on your hair. But even with the best tool ever, you still need to learn the proper straightening technique to get the best results. This is where I come in.
In this guide, I will give you a six-step method to easily straighten even natural 4C hair using a flat iron. You do not need to spend money going to a hair salon or buying expensive hair products – just follow this guide, and you will be good to go. So, if you want to learn more about this method, keep on reading!
How to Straighten Natural Black Hair in 6 Simple Steps
There’s more than one way to straighten natural hair. You can try using permanent straightening solutions, curl relaxers, silk presses, or other types of hair products that promise good results without any damage. From my experience with these tools, I have found that the damage to your hair can be significant, so I would recommend that you avoid using these products as much as possible.
What I would always trust my hair with is a flat iron – a quality iron, with well-coated ceramic plates and lots of features that can make straightening that much easier and more secure. You can purchase this hot tool for a certain price and re-use it for years, which is another great thing about it!
Aside from the flat iron, you will need a good shampoo, a leave-in conditioner, a heat protectant product, a quality blow dryer, and maybe some finishing spray. These are all the products that you should have if you are planning on flat ironing your hair.
So, here’s how to straighten natural black hair
Step 1 – Wash your Hair
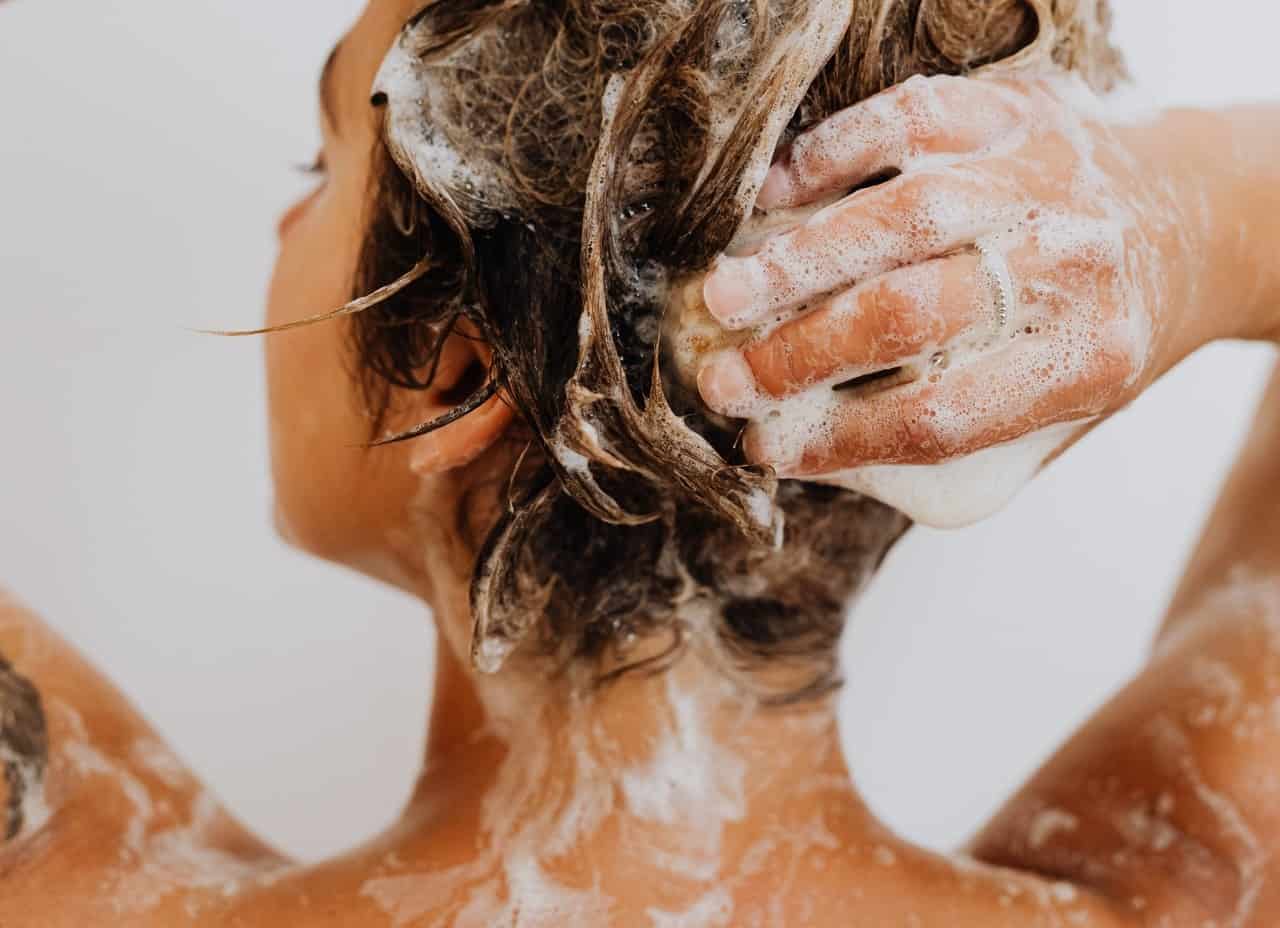
I always recommend straightening hair that is freshly cleaned and washed. If your hair is oily or soaked in some hair product, you will not get good straightening results.
With that being said, you should wash your hair immediately before straightening it. Use some good shampoo, rinse your hair thoroughly, and once you are done, add some leave-in conditioner in your hair. If you can use some smoothing and straightening conditioner, that would be best.
Step 2 – Blow Dry Your Hair
Your freshly washed hair needs to be completely dry before straightening. Some people like to air dry their hair after washing it, but that kind of drying will only make the straightening process much more difficult.
If possible, I would recommend that you use a good blow dryer to completely dry your hair. Set the temperature to medium or even low and blow-dry the hair for as long as needed. Only when you are sure that it is all dry, you can move on to the next step.
Step 3 – Add Heat-Protective Spray
Those who use hot tools often know that heat-protective spray is a must if you do not want to burn your hair. Especially when it comes to black curly hair – damage can make it frizzier and it will inevitably lead you to a haircut to trim off those burnt ends. If you want to avoid that, make sure that you use a quality heat-protective spray each time you style your hair.
Another thing I want to mention is that you should brush your hair and add some anti-frizz serum if you have any on hand. All that styling might cause some frizz or flyaways, so being prepared for that in advance is a good idea.
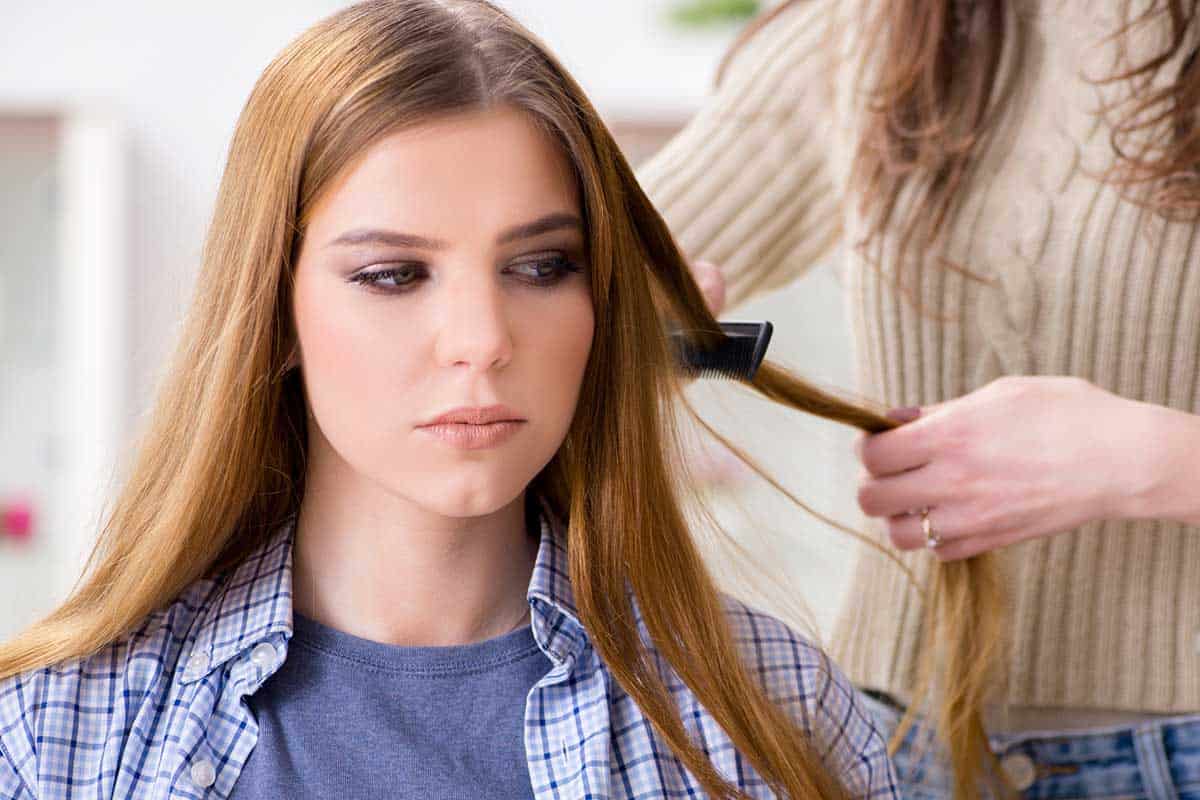
Step 4 – Section Your Hair
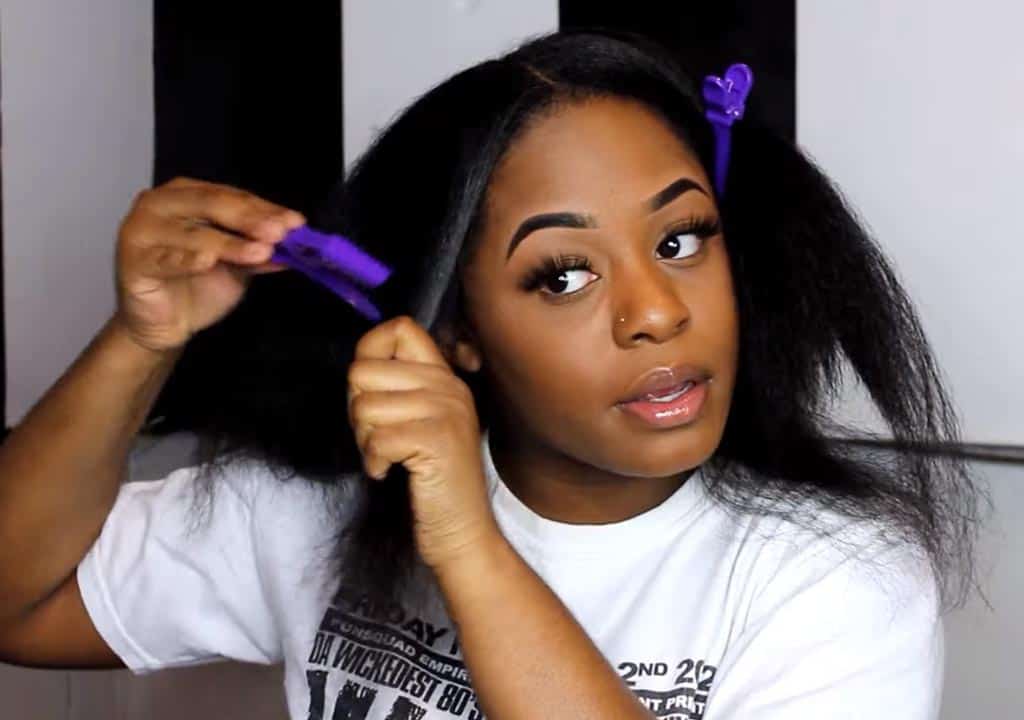
Now that your hair is clean and heat protected, there is only one step keeping you from the actual straightening. With natural hair, especially long hair, sectioning is a must so you can easily access every part of your hair.
Divide your hair into as many sections as needed. You can leave one section out and clip the rest away from it, slowly going over the sections one by one.
Step 5 – Wield Your Flat Iron

This is where the fun starts – you finally get to use your flat iron. As I said, I think it would be best if you invest in a good straightening tool that has quality plates and adjustable temperature settings.
For natural hair, you should set the temperature anywhere from 350 to 400F, but in no circumstance should you go above that temperature. If you set the flat iron to a temperature above 400F, not even a whole bottle of heat-protective spray will save you from the damage!
Once the temperature is set, you can start straightening your hair. Take the hair strand and place the flat iron as close to the roots as possible. Then, slowly pull the flat iron downwards, straightening each strand to the ends.
Make sure you are not twisting or pulling on the hair. It is also important to remember not to make too many passes with the flat iron on the same strand, or you will cause a lot of flyaways. Repeat this straightening process for all hair strands, taking as much time as you need.
Step 6 – Put on the Finishing Touches
After straightening your entire head of hair, all you need to do is put on the finishing touches. This means you can add a finishing serum or oil to your hair.
From this point, touching the hair or brushing it over and over can lead to frizz and flyaways. Keep your hands away from it as much as possible, and remember to wrap the hair with a silk scarf before going to bed. That way, your hair will stay straight until the morning even if you do a lot of tossing and turning that night!
Here’s how our girl Ny-Zaria Taylor does it:
FAQs on Straightening African American Hair
After this complete six-step guide, I want to share a few other pieces of information that I think will come in handy at some point. Once you know them, you will be completely prepared to straighten black hair!
How do you straighten black hair without heat?
There are quite a few heatless straightening methods that can be used in black hair. You can use bunning, wrapping, banding, braiding, twisting, and even doing Bantu knots. These methods will straighten your hair but not as well as a flat iron would!
How often can I straighten my natural hair without damaging it?
If your hair is already damaged, colored, or otherwise treated, I do not recommend using a hot tool on it more than a few times per month.
For natural black hair that is healthy, I would recommend straightening it no more than once per week. If you need to straighten your hair more often than that, you should turn to heatless straightening methods instead of straightening it with hot tools.
Rock Your Straightened Natural Hair!
I hope this guide helped you learn more about how to straighten natural black hair. Remember to use heat-protective spray, a good straightening tool, and to be gentle and controlled while straightening your hair.
Let me know if you have any tips or tricks for straightening natural black hair that you think I should include in the guide. Your input matters a lot to me, so feel free to share your thoughts on the topic in the comment section below!
0