Curling irons used to be very popular — they might have even been the most popular hair curling tool before the hot curling brushes took over. The success of the curling brush is undeniable, and it is based mostly on the ease of use as well as the affordability of the tool itself. However, knowing how to use a curling brush is key to styling your hair successfully, and that is something I will discuss in more detail in this guide.
Traditional curling irons were a great choice for creating curls and waves, but they were somewhat damaging to the hair and also not that easy to use. When curling each section of hair, you had to worry about not accidentally burning your fingers on the hot barrel. This kind of hairstyling got too old too fast, so people knew they needed to come up with a better, safer alternative.
This is where the curling brush comes in. This amazing alternative is not that damaging to the hair, yet it can style your hair successfully and in practically no time. Because of all these perks, a lot of people turn to these brushes instead of curling irons – myself included!
Using a curling brush has been a real game-changer for me, but what I learned over time is that having a good curling technique is key to achieving the perfect curls. Today, I would like to share with you my awesome and super easy five-step technique to create the perfect curls with a curling brush. So grab your curling brush, and let’s get right into the guide.
Table of Contents
How to Use a Curling Brush: A Guide
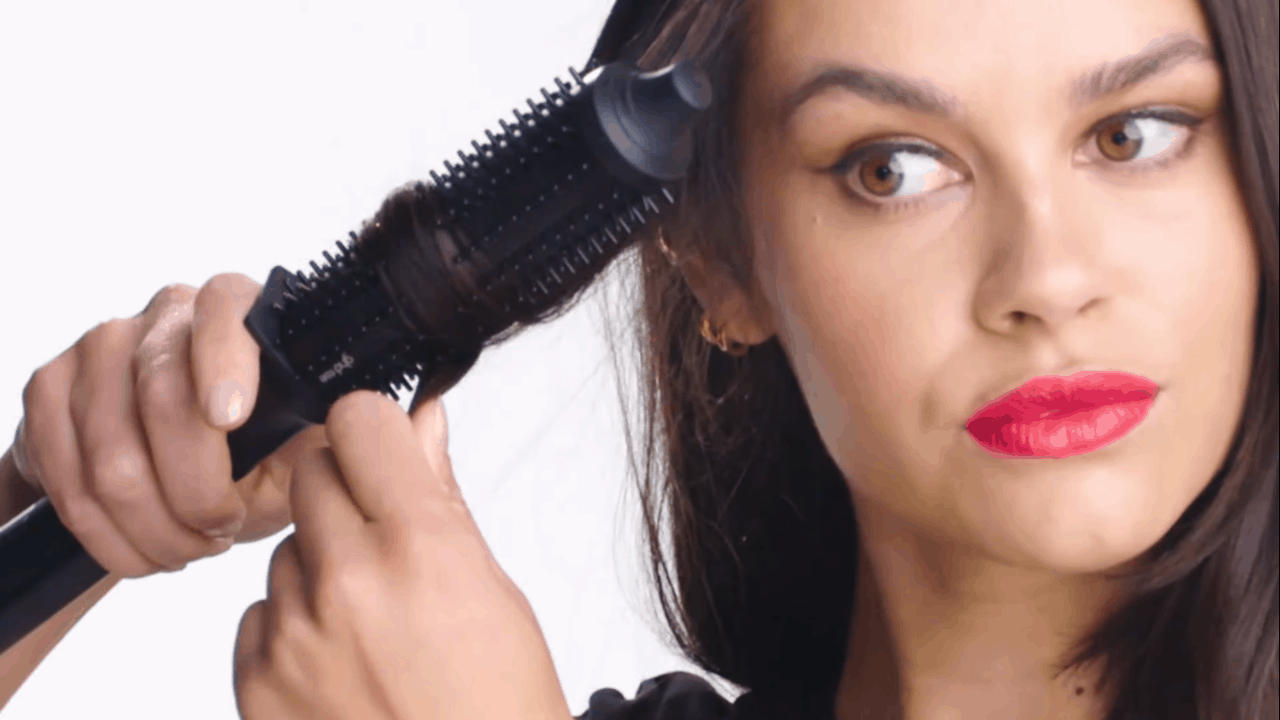
If you are still wondering what a curling brush is, I would like to give you a quick explanation before I tell you how to use it. A curling brush is very similar to a curling iron. The biggest difference is that the round curling barrel of the curling iron is replaced with a round curling brush – hence the name curling brush. Both operate in a very similar way, with the curling brush being a bit easier to use.
As I mentioned previously, knowing how to properly use this kind of brush is key to achieving the desired look, so I would like to explain exactly what you need to do when curling your hair with the heated curling brush. Here is a comprehensive step-by-step guide of the process:
Step 1 – Prepare Your Hair
I suggest using the heated curling brush only after washing your hair. Your hair should be damp (not extremely wet), so you can leave it to air-dry for a bit or towel-dry it after washing it. The washing should be done with regular shampoo and some conditioner – you do not want to use a lot of products that will weigh down the hair.
Step 2 – Add Heat Protectant
You know how I said not to use too much product? Well, that excludes the use of heat protectants. You should add some to the hair because you will be styling it with heat, and we all know how damaging that can be to the hair!
Step 3 – Detangle and Section Hair
Detangling your hair before heat styling is very important because any tangles in the hair can lead to breakage in the hair strands and improper styling. So this means that you should thoroughly brush your hair and make sure there are no tangles at all before you go on to the next step.
Depending on how thick your hair is, you can divide it into as many sections as you need. This will help you style your hair easily without any stray strands flying all over. Secure the sections with some clips, leaving one section down and starting from there.
Step 4 – Use the Curling Brush
Before you start curling your hair, check again to see if your hair is still damp. If it has dried out a bit, you can always spray a few drops of water so you get it to the state you need it to be in. Then, you can move on to the next part.
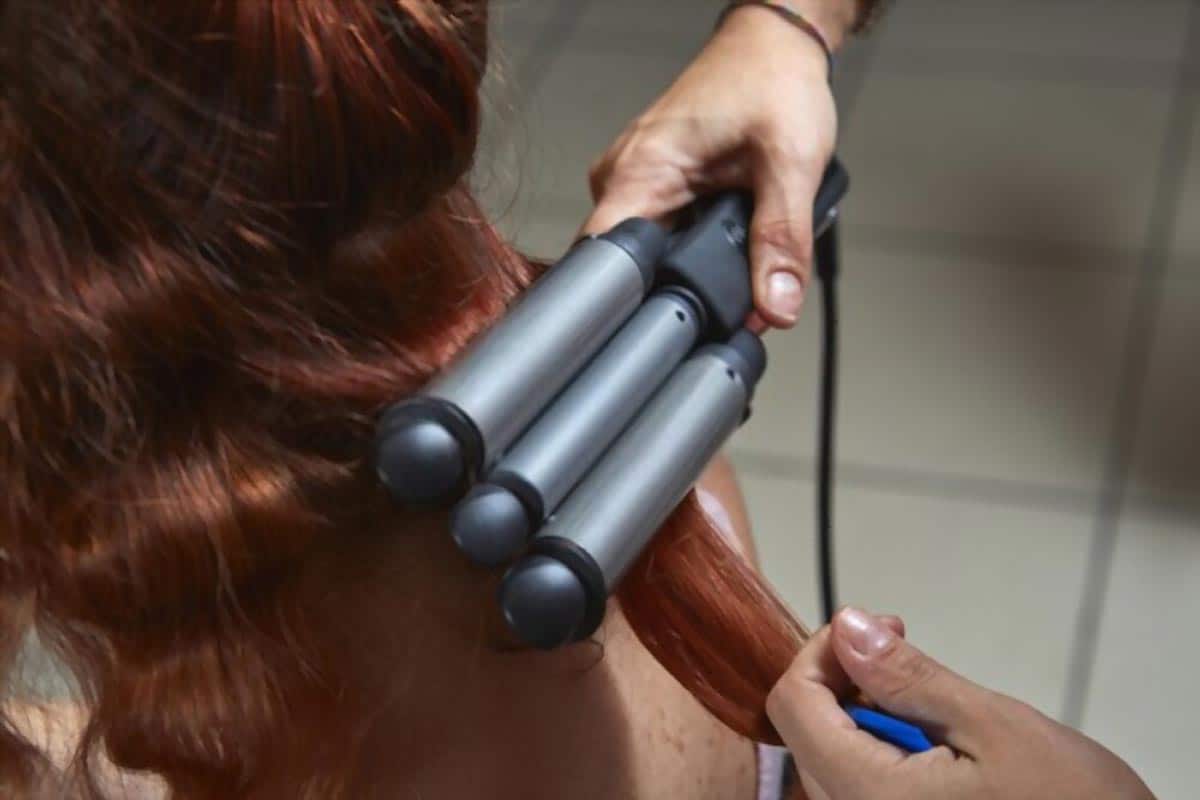
Beginning with the first section, you should wrap the hair around the curling brush barrel, wrapping from the ends towards the roots. You should not rush this part – wrapping the hair evenly and smoothly will help you create better curls. Once you have wrapped the section of hair, you should hold the brush for at least five seconds before letting the strand drop.
Repeat this process for every section and remember not to rush – as I said, the more time you spend on creating your curls, the better they will ultimately look. You cannot rush perfection, am I right?
Step 5 – Finish with Some Hairspray
When you are done curling your entire head of hair, you should spray some holding spray on your hair just to keep the curls intact for longer. Since curling brushes create very light curls, they could benefit from some hairspray.
That should be the final step of the styling process. Once you are finished with your curls, remember not to touch them too much because that will damage the curl pattern.
FAQs on Using Curling Brushes
Before I wrap this guide up, I want to mention a question that has been frequently asked when discussing this topic. Here is that question:
Can you use a curling brush on dry hair?
You can use the curling brush on dry hair if you want to refresh your curls, but I do not recommend doing that. The curling brush has way better results when used on damp hair, and using it on dry hair can also lead to more damage to the hair itself.
Curling Brushes = Super Fun Curling Experience
Curling brushes are so amazing – they do not damage the hair and they take much less time to style your hair. You will love creating the best curls with your curling brush, especially if you follow my detailed step-by-step guide.
With that being said, I want to thank you for reading this guide. If you have any tips or tricks on using curling brushes, please share them with me in the comment section below!
0