If you are anything like me and you like to change your hairstyle often, you inevitably find yourself asking certain questions – how often can I change my hair color? Can I go from highlights to balayage easily? Do I need to consult a hairstylist before I make changes to my hair, or can I do whatever I want to it?
What I have realized over the years is that the proper technique and quality products can help you achieve any hairstyle you want. That means you can change your hair at home and without the help of a professional. The more you research you do before styling your hair, the more you will become your own professional hairstylist!
Table of Contents
Yes, You Can Go from Highlights to Balayage
With all that being said, it requires certain knowledge to turn your highlighted hair into a perfect balayage. You need to have experience with doing foilage, lowlights, babylights, root shadows, and a few other techniques if you do not want to completely burn your hair and make it look lifeless.
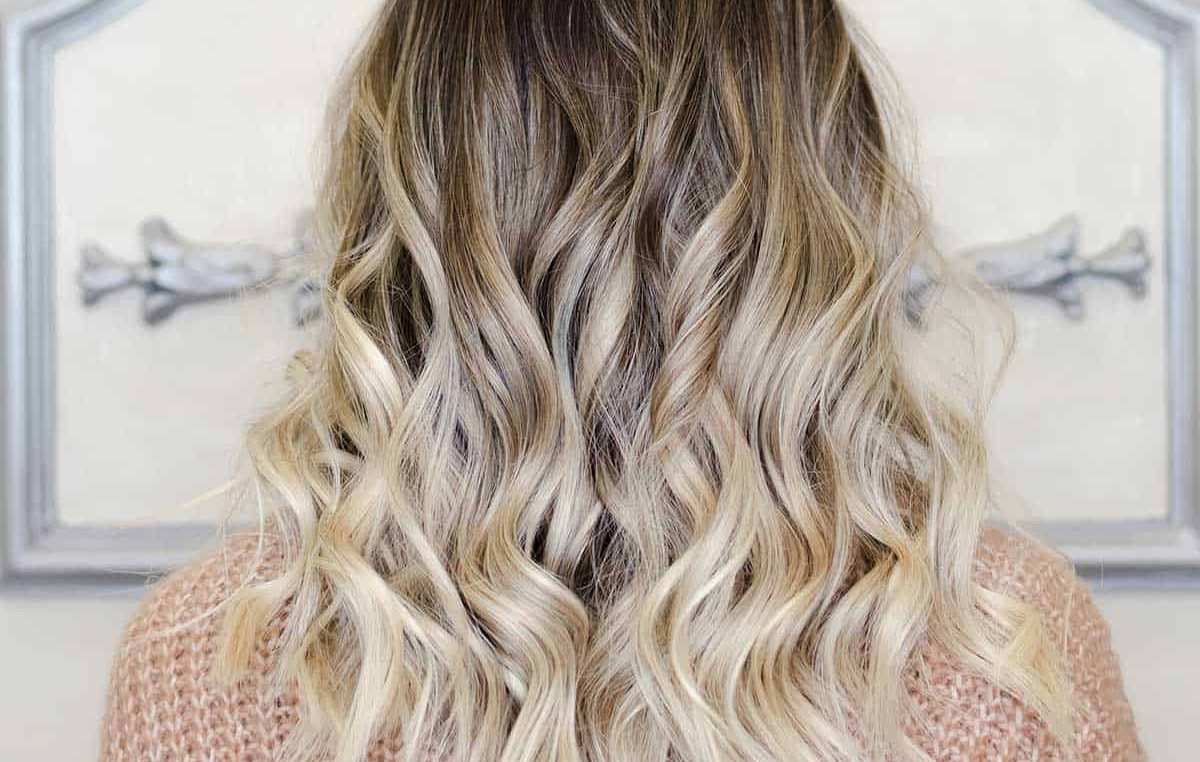
Balayage is one of my favorite hairstyles – it is not that easy to achieve, but it is very low-maintenance, and it does not require frequent touching up. Once you do the balayage, you will be able to enjoy it for months before it requires any re-touching. Balayage is also the easiest hairstyle to grow out, so you might not even need to retouch it at all!
If you are looking to turn highlights into balayage at home, this guide will help you do that in the easiest way ever. Just follow the guide carefully, make sure you have the right products, and your hair will surely turn out great. I am ready to start when you are!
How to Turn Highlights into Balayage – The Easiest Method Ever
If you are still wondering if you can go from highlights to balayage, this guide will show you that this is possible. Highlights can easily be adjusted and turned into a great balayage hairstyle. The way I like to do it is by combining a few dyeing techniques – lowlights, babylights, and root shadow.
Don’t worry if you don’t know what these techniques are just yet. When I get to the section of the guide involving these techniques, I will tell you all about them and how to do them. You will see that they are all easily achievable.
The first and most important thing to do before you get to the styling is to make sure you have everything needed for the process. On that note, I will get right into the first step of the guide!
Step 1 – Gather the Tools and Products Needed
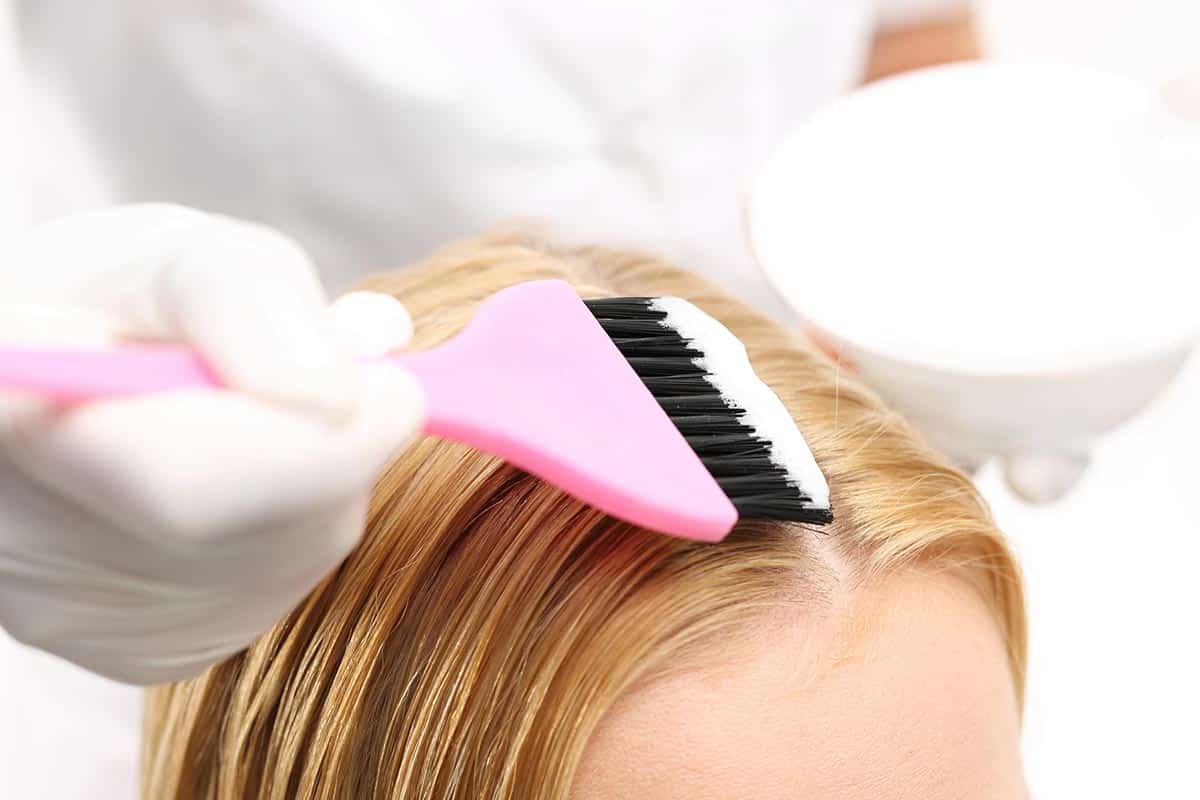
For this hair dyeing process, what you will need is a couple of dye bowls, a few dye brushes, some gloves to protect your hands, and possibly a towel just in case you need it. I recommend that you put on some old clothes that you will not regret potentially damaging with the hair dye.
As for the products, you will need some bleach and a developer. Depending on how light you want to go, you can choose between a few different developers. You will also need one hair dye close to your natural color, one dye a bit darker than your natural color, one or more dyes that you will use for the babylights and foilage.
For the babylights and foilage, you should choose colors that are similar to your natural shade. You can choose the shades depending on the colors you want to have in your hair at the end.
Step 2 – Prepare Your Hair
You should not wash your hair on the day of the dyeing. When it comes to coloring hair, the rule is that the greasier the hair, the better the results!
Before you start with the dyeing, you should brush out your hair and make sure there are no tangles in it. Then, divide the hair into several large sections. The first part you will be dyeing is the back part of the hair, so you can leave that part out.
Step 3 – Start Dyeing the Lowlights
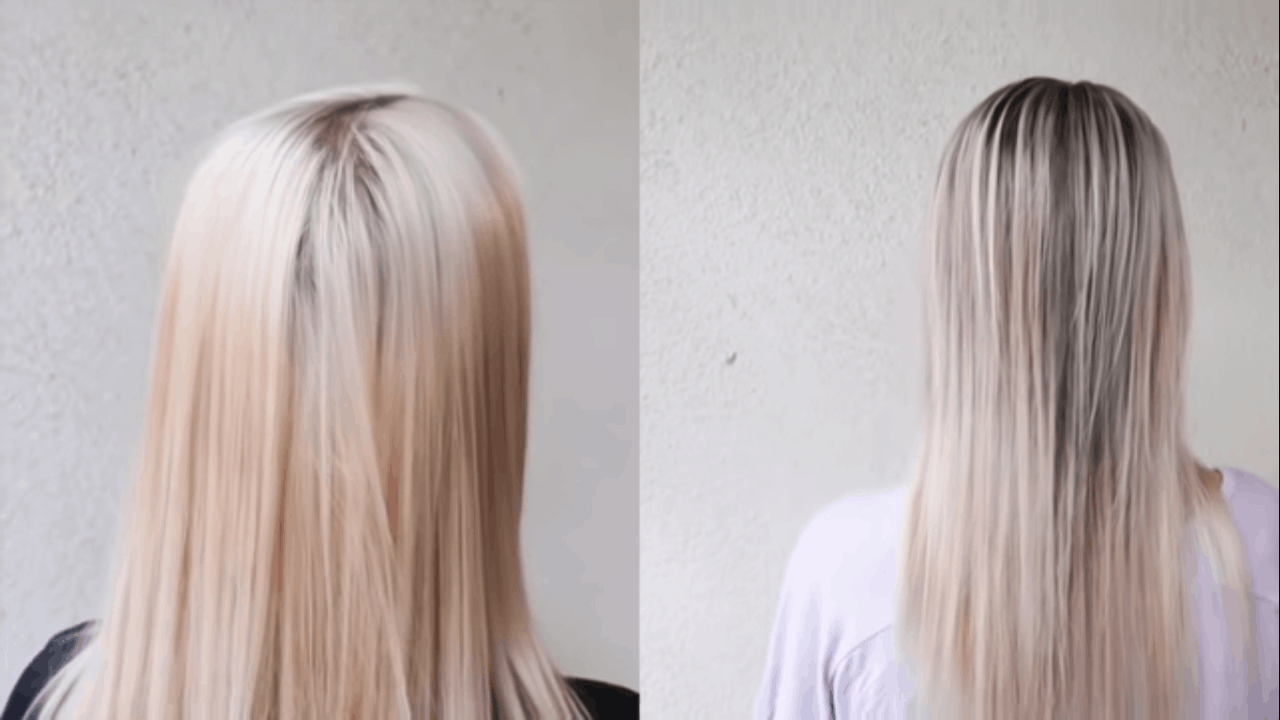
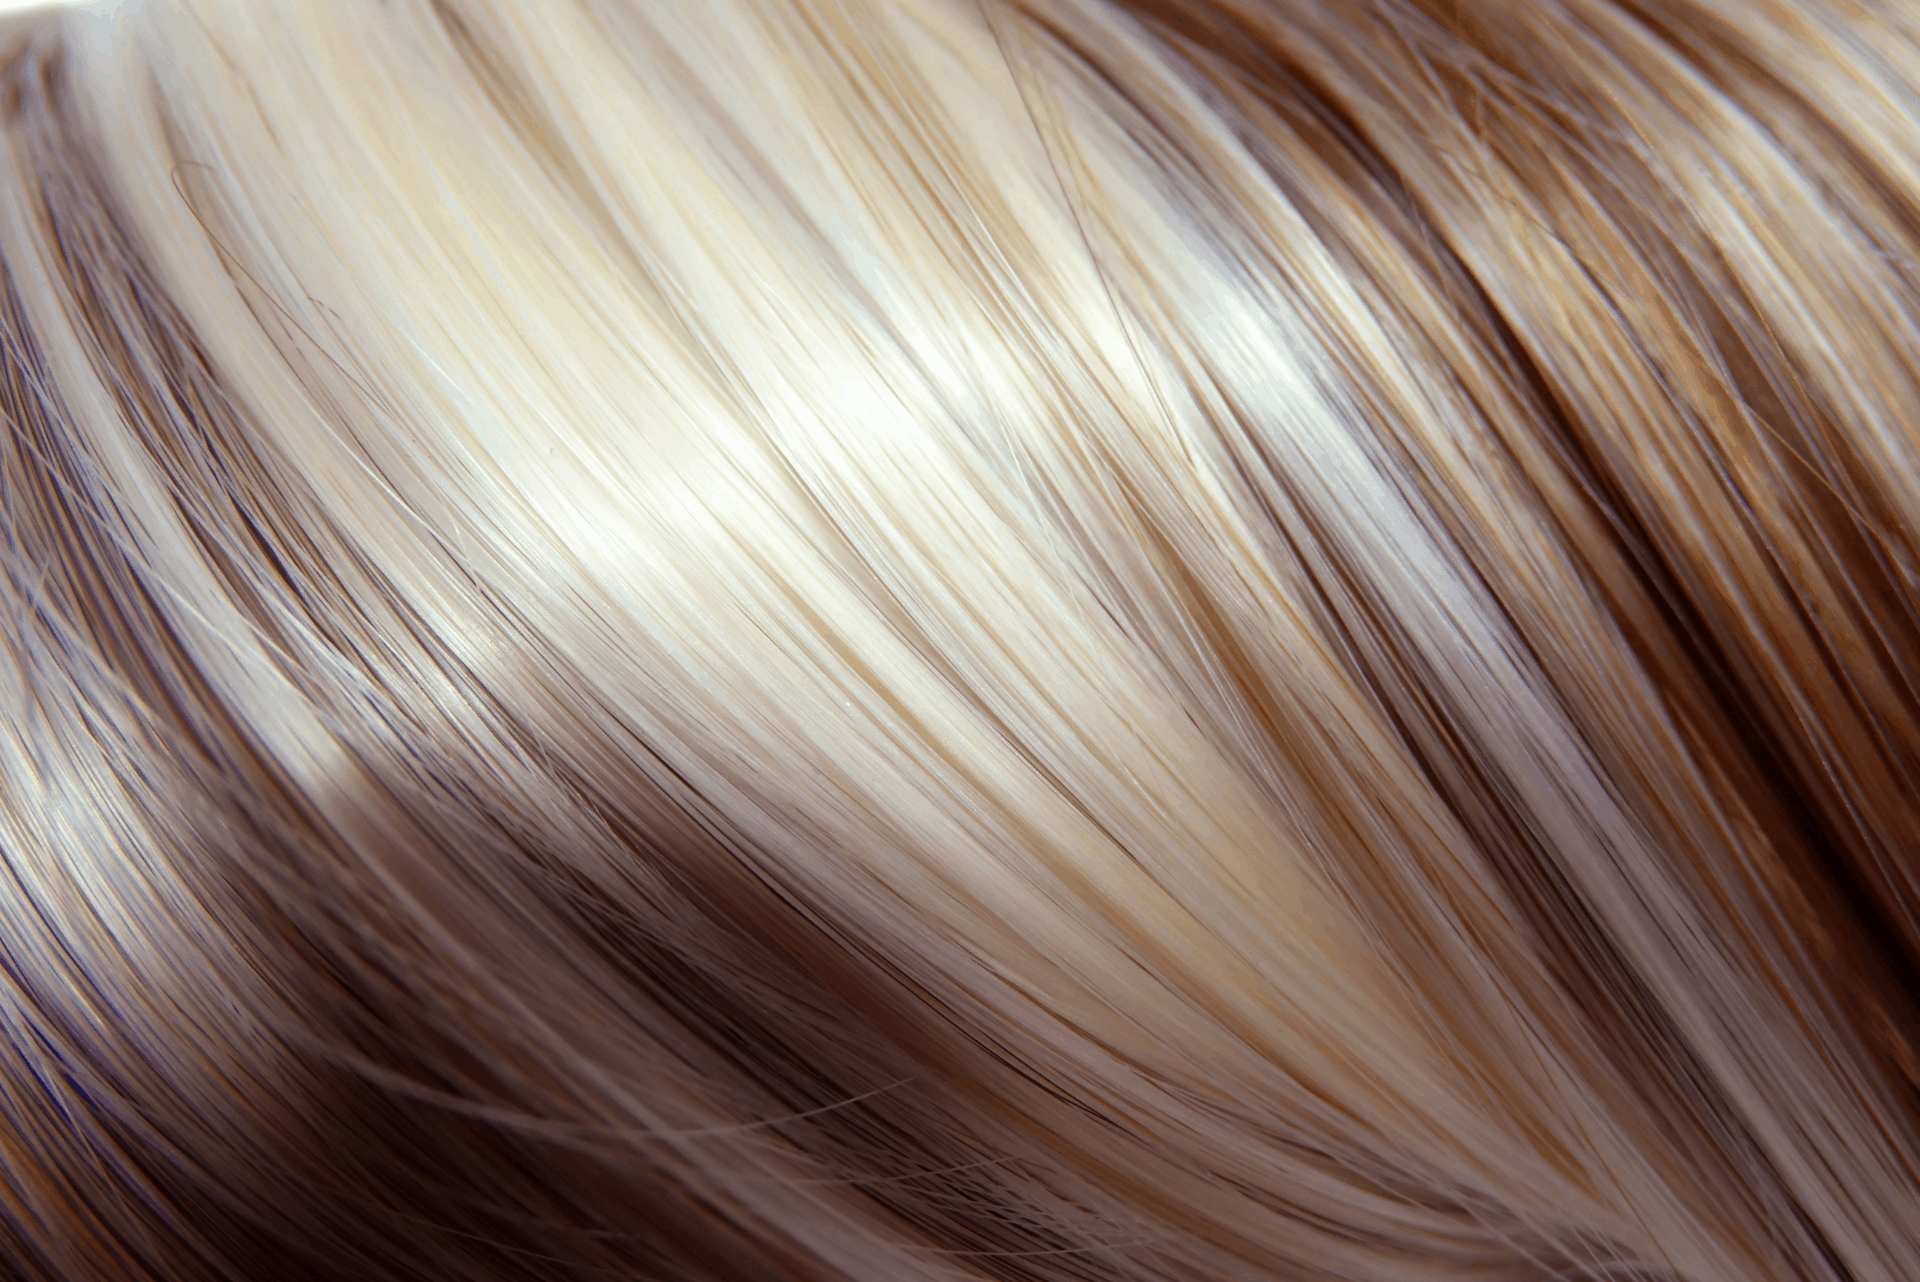
Here’s an example of a pale hair color with lowlights added to it.
Lowlights are small sections of hair, usually done at the back of the hair that will add depth and dimension to the hair. They should be made with shades darker than the one of your natural hair.
When making lowlights, take small sections and apply the dye as you would with highlights. That means that you do not cover the entire section with color but gently paint over the section at least a few inches removed from the roots. Add foils to each section as you dye it.
You should add lowlights to the entire back section of your hair. You can leave some small sections in between the lowlights if you want to apply lighter color as well. Once you are finished with the back of the hair, you can move on to the next step.
Step 4 – Start Dyeing the Babylights
Since you already have highlights in your hair, what I recommend that you do next is add some babylights to the already existing highlights. Babylights are tiny highlights with a lighter color that you can add above the lowlights and right to the top of your hair.
The babylights should also be applied section by section to your hair. If you want to, you can mix it up and add several light shades to your hair. Also, do not start the babylights at the root – they should be at least a few inches removed from the root area.
Remember not to go over the existing highlights with any bleach. That will lead to further damage in those sections. Leave the highlights as they are, and only paint some babylights where you want to lighten your hair. Wrap each lightened section into foils.
Step 5 – Wait It Out
Once you finish the lowlights and babylights, you should leave the dyes to process for 30 to 45 minutes. You can gently open up some of the foils periodically to check how the color is processing. Once you reach the desired colors, you can wash your hair and rinse out the bleach.
Step 6 – Do a Root Shadow
This step is an optional one – if your highlights are more than 4 or 5 inches grown out, you can choose to stick with your root color and skip this step. However, if your highlights are not grown out enough or you do not like your root color, you can dye over it. The root shadow serves as a great way to blend the roots with the rest of the hair.

Using a color similar to your natural hair color, gently go over the root area and paint at least 4 inches downwards. Using a comb, you can spread the color to the midsection of your hair, just to give it a more natural look.
Also, if you have any parts of your hair that you left out, make sure you dye them with this hair color. Making a few sections of hair match with the roots will make your hair look a lot more natural overall. Once you are finished with the dyeing, wait for about 5 minutes before you rinse the hair thoroughly.
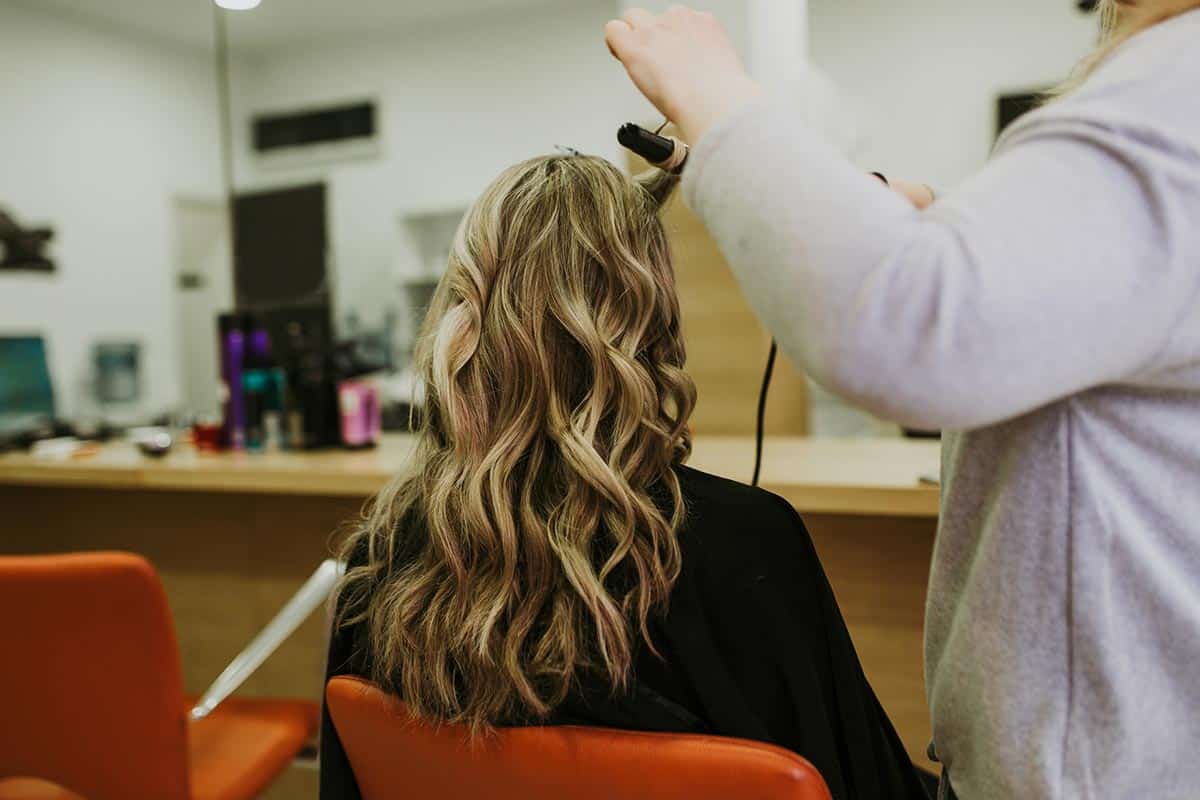
Step 7 – Put the Finishing Touches on Your Hair
Another optional step before you finish it off – you can use some toner to tone the existing highlights. You can use toner if your highlights are a few weeks removed from their last touch-up. If you do end up using a toner, make sure to rinse your hair again.
If you are not toning your hair at this point, all you need to do is rinse it and make sure there is no more hair color in it. Then, you just need to dry it and style it according to your preference. The hairstyle you will have at this point is a real balayage, and it should look amazing!
See? I told you can go from highlights to balayage!
FAQs on Highlights to Balayage
Now that you know the steps you need to follow to turn your highlights into the perfect balayage hairstyle, you might need a few more details before you are free to go. Here is what else you need to know!
What lasts longer: highlights or balayage?
Highlights require retouching every 6 to 8 weeks. However, balayage can be retouched after 3 or 4 months, or you can choose to let it grow out.
The reason why so many people love balayage is that it is the easiest hairstyle to maintain and let grow out without any additional retouching. If you are looking to grow out your current hair color, you should turn it into balayage and leave it to grow out like that.
Final Thoughts on Highlights and Balayage
Highlights, lowlights, balayage – all these hairstyles have their pros and cons. They all look amazing, and I recommend everyone to try each of these out at least once. They can make your hair look more vibrant, more dimensional, and more voluminous.
Let me know if you have ever had highlights or balayage in your hair and what your experience was like. I would love to learn all about it, so make sure that you share your experience with me in the comments below!
0