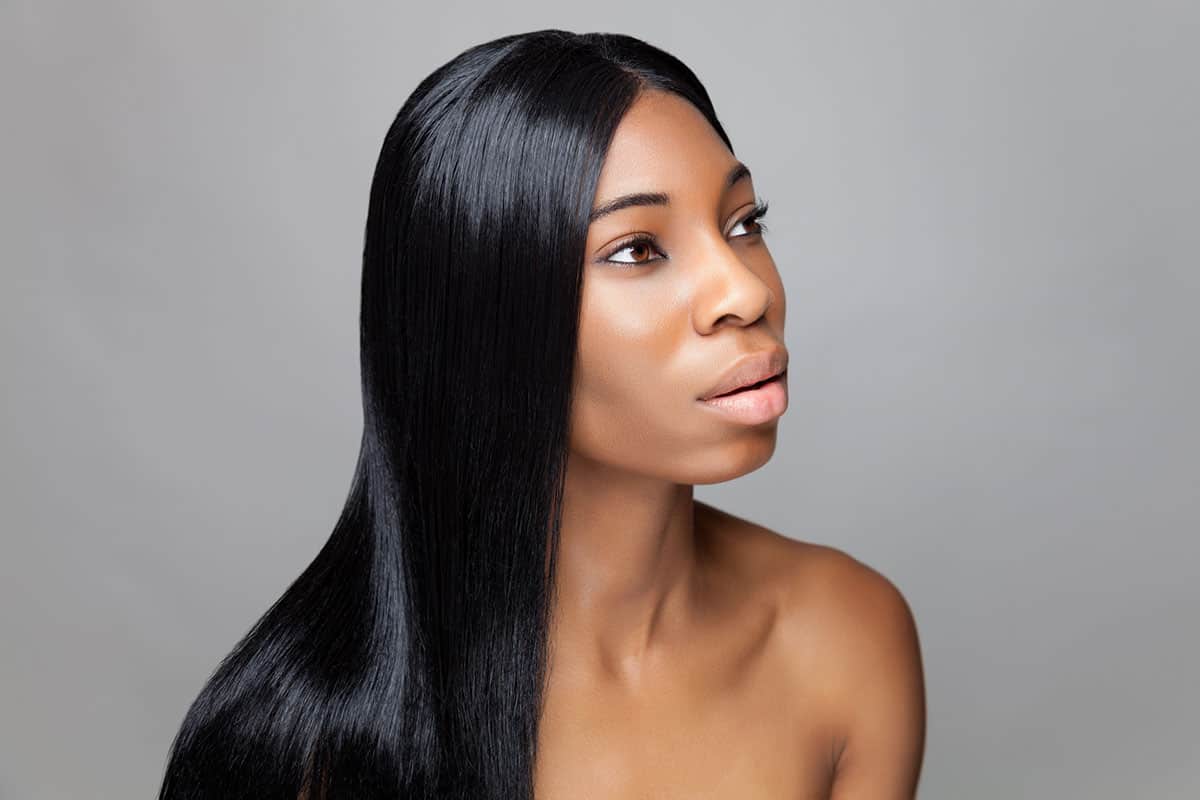
Have you been waking up with wavy, frizzy hair each morning just because it gets all over the place while you sleep? Well, you’ll be happy to hear that there’s a way to keep it smooth, frizz-free, and wave-free with the correct technique. If you want to learn how to wrap straight hair at night, we’ve prepared a comprehensive guide.
This wrapping technique is simple, doesn’t take too much time, and all you need is a brush, long bobby pins, and a silk or satin scarf. As you can see, there’s a way to have the dreamy, straight hair you want without having to treat your hair with heat every single day.
Table of Contents
What Is the Straight Hair Wrap Method?
If this is the first time you’re hearing about this technique, you’re probably wondering what it is and who can use it. Hair wrapping is a simple but effective method to maintain relaxed or rebonded hair or tame and smoothen wavy and curly hair.
The basic idea is to neatly and securely wrap all of your hair around your head, with the help of a brush and some well-placed bobby pins, and then keep it all in place with a silk or satin scarf. Do this as your nightly routine before you get your beauty sleep.
Please be aware that this method won’t work for everyone. It’s certainly a suitable technique for people with straight hair that tends to get curly during the night and people with wavy or curly hair. Unfortunately, however, hair wrapping might not be the ideal choice for very thick, coarse, and very curly hair types that are difficult to tame and style.

Benefits of Hair Wrapping
Once you wrap your hair, you eliminate most of the friction it would otherwise have to go through if you’d skipped the hair wrapping. Your hair would not be rubbing against your pillow, your sheets, your body, and hair strands won’t be rubbing against each other much.
- This means fewer split ends, and your hair will look much healthier.
- This also minimizes the hair frizz you usually wake up with.
- Finally, using the hair wrapping method will help you reduce the frequency and duration of your use of hot tools, which indirectly protects your hair from heat damage.
How to Wrap Straight Hair Before Bed: A Step-by-Step Guide
Step 1: Prep Your Hair
1.1: Wash and Condition Your Hair
The hair wrapping procedure always starts with washing and conditioning your hair thoroughly. When you want to achieve the ultimate results, I recommend using products that are formulated to straighten your hair. Some of the ingredients that can be helpful include coconut oil, argan oil, keratin, silicones, etc.
Once you’re done washing your hair, wait for it to dry for a bit until it is only slightly damp, and then you can continue to the next step. If you don’t have time to wash it, you can simply dampen it with a spray bottle and water in a pinch.
1.2: Wick the Moisture
Before you learn how to wrap hair to keep it straight, you have to get all the moisture you can out of it. You’ll need a microfiber cloth for this step because it’s gentle to your hair and won’t cause damage. A great substitute is an old cotton tee you haven’t been using for a while.
A towel or a T-shirt will get all the excess water out and will ensure that your mane is frizz-free. All you have to do is squeeze your hair with the cloth, but do it very gently and without pulling or rubbing.
1.3: Use a Straightening Hair Oil
Grab your favorite straightening hair oil and apply a few drops to your hands. Rub it in between your palms and go over your hair with your fingers. Some of the best straightening oils are argan and coconut.

This step will add moisture to your hair and nourish it properly. Oils will coat your hair strands, close the cuticle, and help your hair stay straight for a longer time.
1.4: Comb It Well
You can’t straighten your hair without combing it first. Grab a wide-tooth comb to go over it and remove all the tangles and knots. You can also start brushing it with a wet brush for best results and skip the comb altogether.
If you don’t have a wet brush, any brush will do the job, as long as the final result is a tangle-free, knot-free mane. You should avoid brushing your hair while it’s soaking wet because that’s when it’s most vulnerable and when you can cause the most damage.
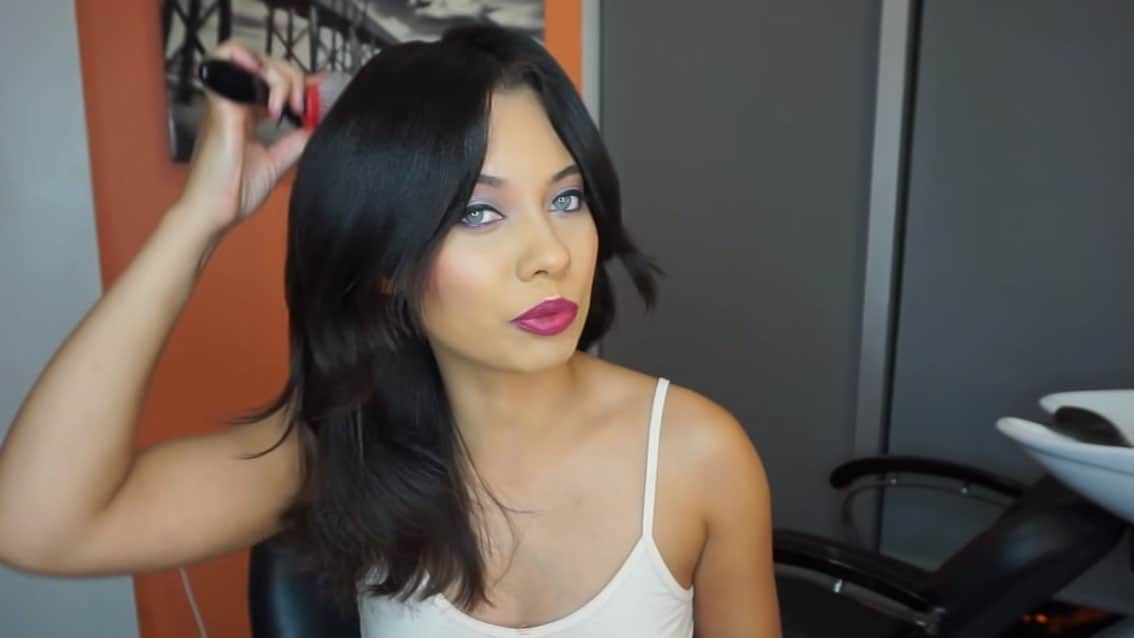
Always start from the tips and work your way to the roots. A great trick is to divide it into sections and go over each one gently.
Step 3: Brush and Smooth Hair to One Side
We’re going to start wrapping the hair, going in the direction of your hair part.
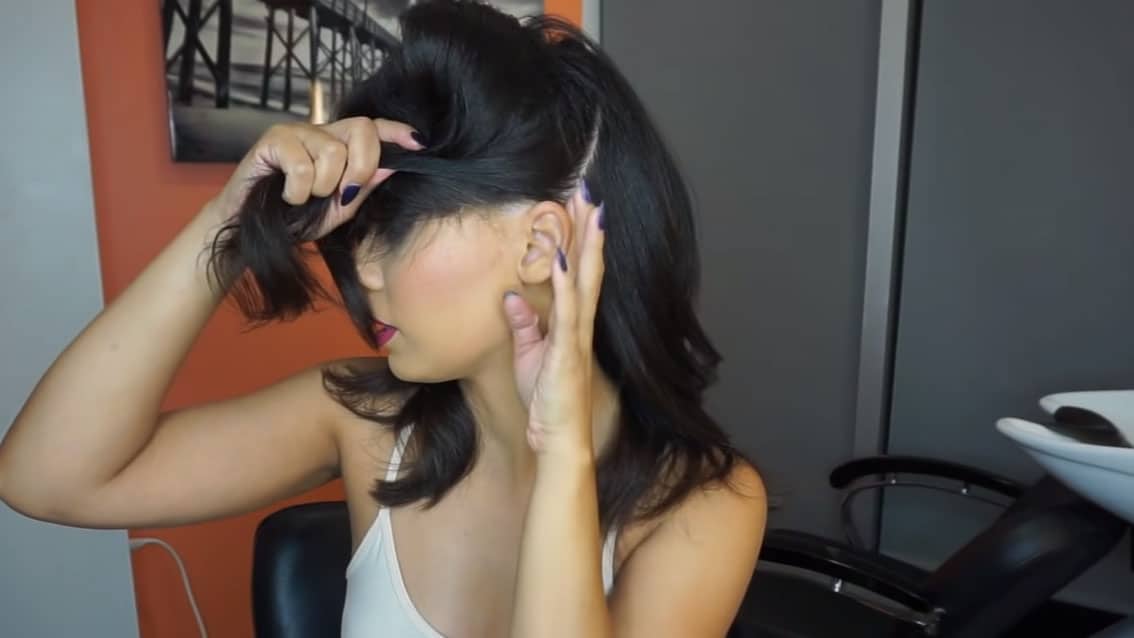
Take a section hair from the side of your head and brush it towards the front and hold it flat to your scalp with your free hand. This is the foundation of your hair wrap so make sure that this is smooth without any bumps or knots.
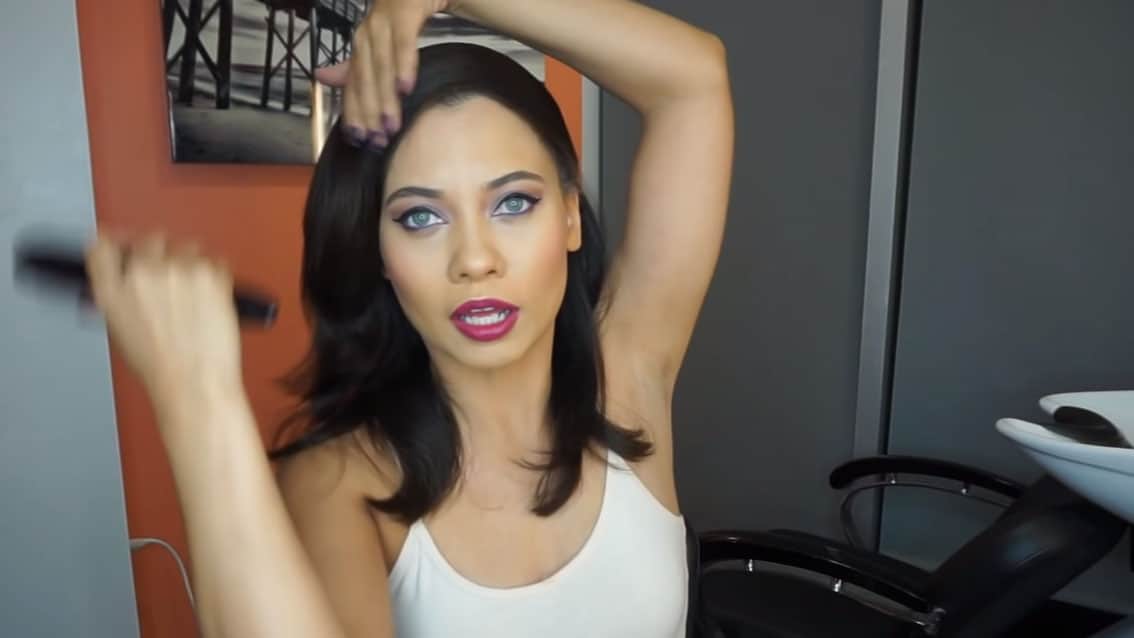
Continue brushing and pressing with your hand as you reach the other side of your head above your ears, allowing the bristles of your brush to include the hair in each section of the scalp that you pass.
Step 4: Secure with Bobby Pins as Needed
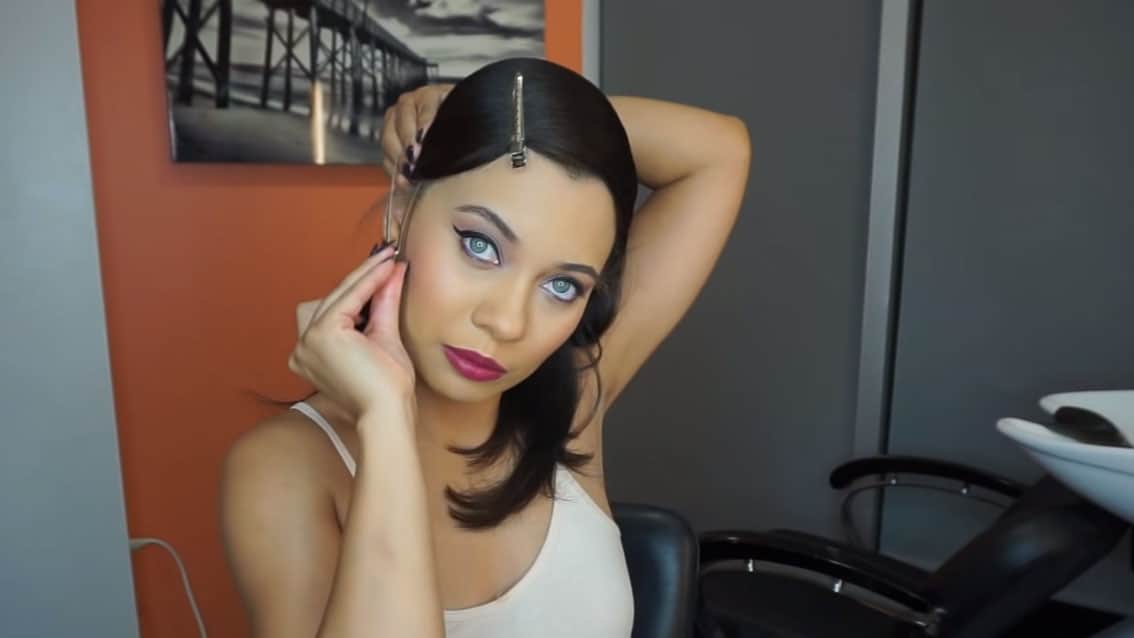
Take the help when you need it, especially if you have shorter hair. You will have to use bobby pins (or duckbill clips) to keep your hair in place as you reach the ends of the shortest pieces.
Step 5: Repeat Until All of Your Hair is Wrapped Around
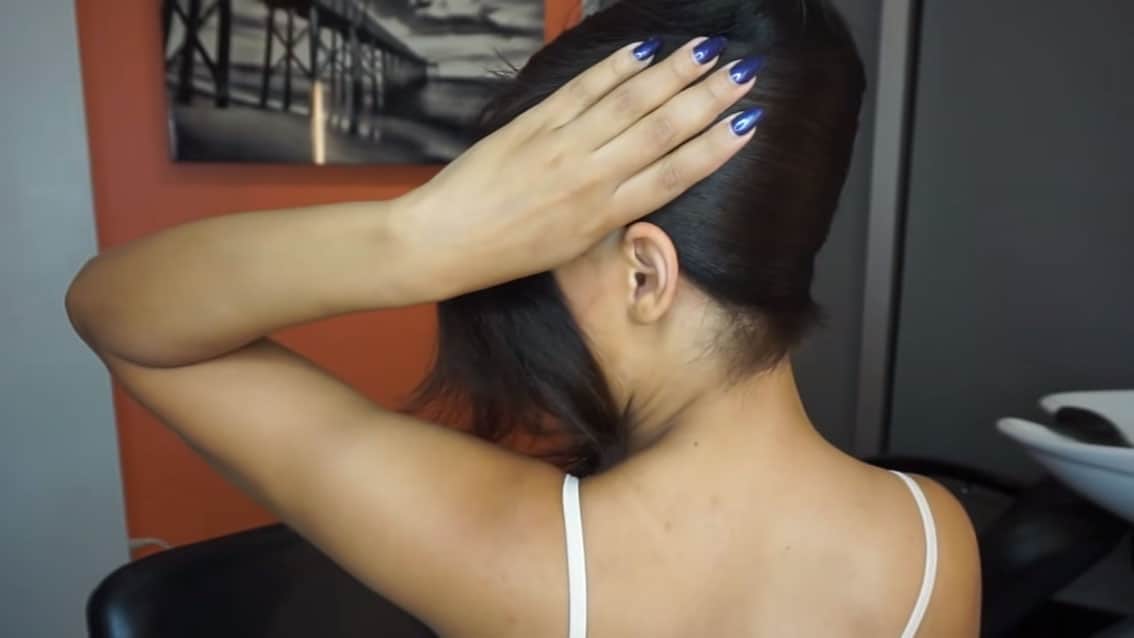
Continue repeating the same steps with all the remaining hair until you have no more hair to work with. You have to secure the hair ends and wrap them around your head when you reach this part.
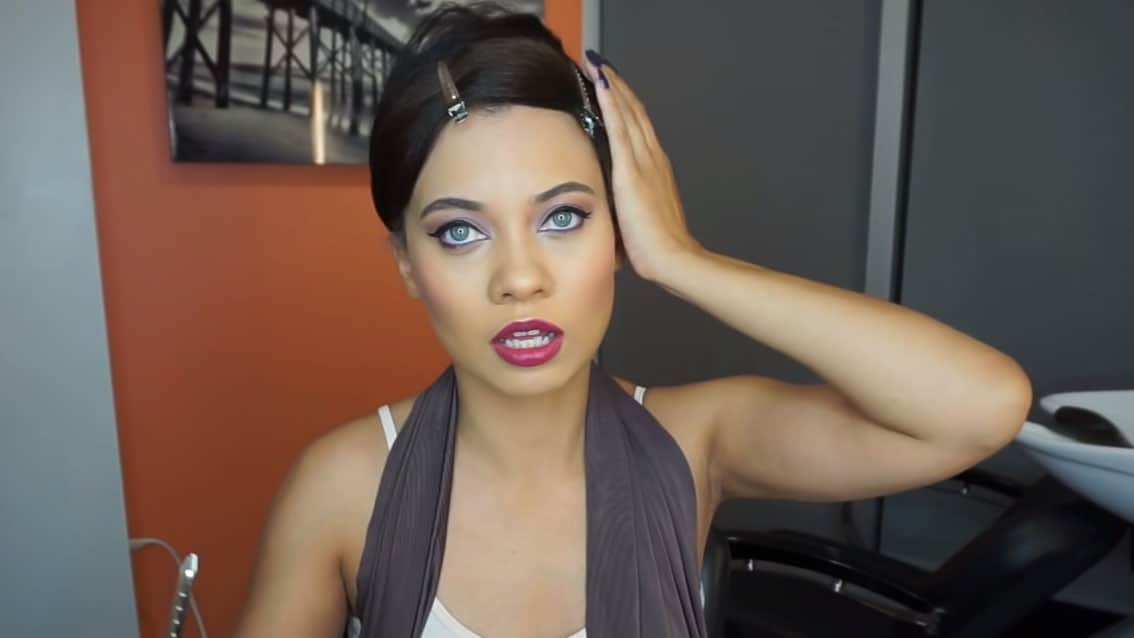
All of your hair should be wrapped around your head and secured with long bobby pins. Before you clip a strand, go over it with a brush, ensuring that it’s straight and smooth.
Step 6: Wrap a Scarf Around Your Head
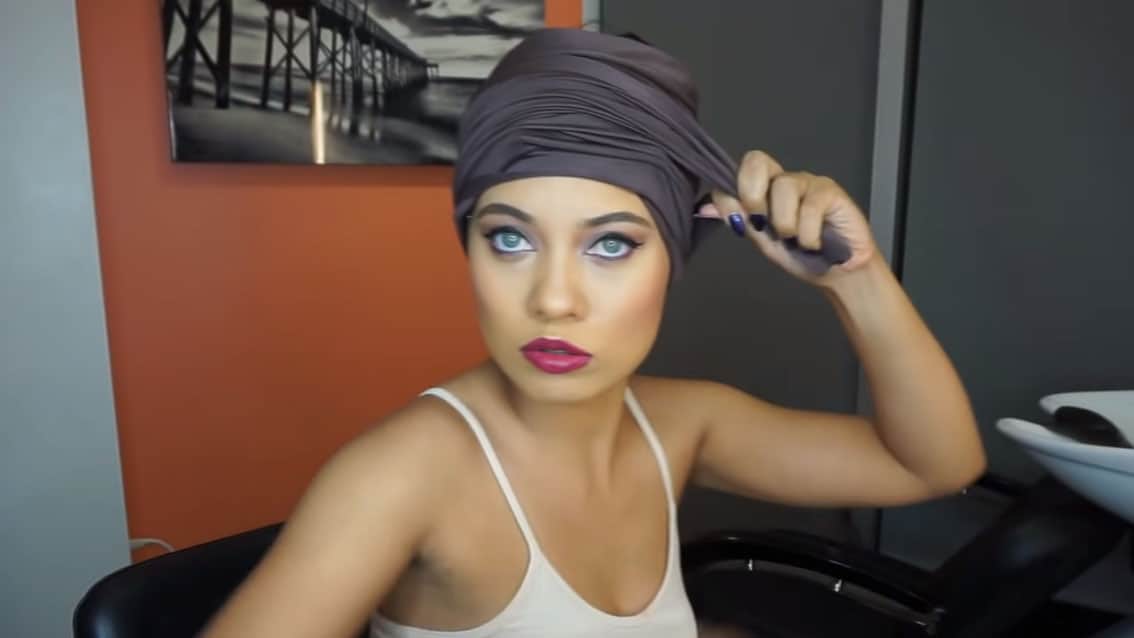
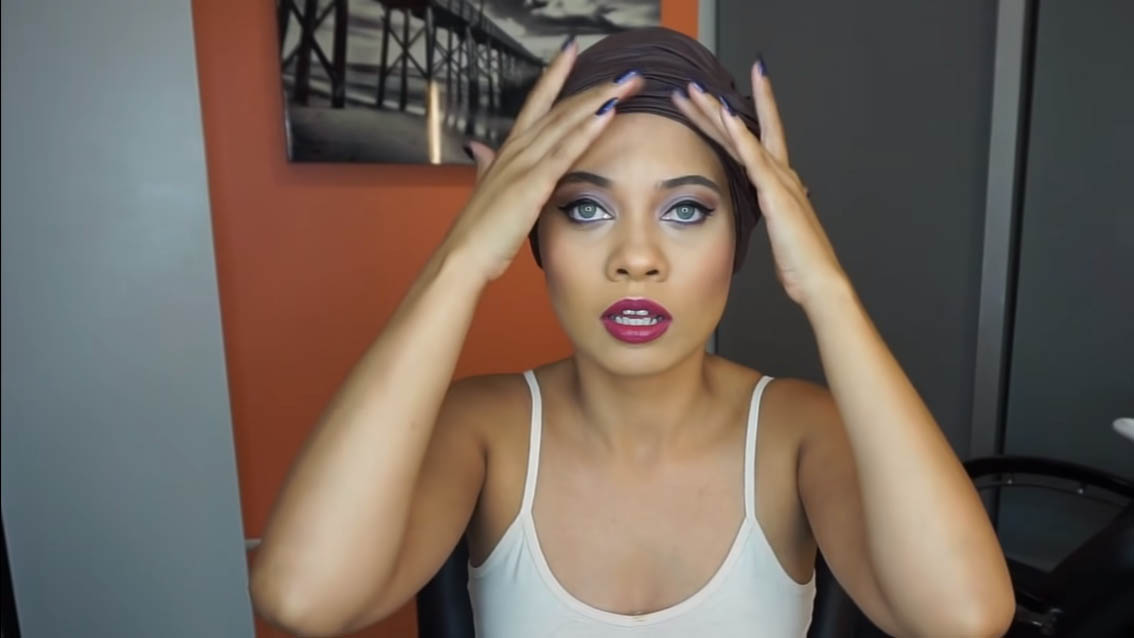
Going to bed with a hair full of bobby pins isn’t the best idea, so you’ll have to add a silk or satin scarf to keep everything in place. Silk is the best material because it will prevent hair friction and frizzy hairs and is very gentle to your mane.
There are numerous caps, scarves, or bonnets you can get, and they all serve the same purpose. If you don’t want to buy a special headscarf, you can simply grab one of the silk scarves that you typically wear around your neck as an accessory if you have one lying around.
The cap, bonnet, or scarf will also secure the hair and prevent it from unwrapping while you sleep. It’s even more important to use it if you move around a lot during the night.
If you’ve used duckbill clips, those aren’t very comfortable to sleep with. As long as you did your scarf wrap well, you can slide the clips off without fear of displacing your hair.
Step 7: Unveil in the Morning
Now it’s time to unveil the final result! Once the morning comes, you can remove the scarf and the bobby pins and carefully unwrap your hair.
Grab a hair brush or a comb and gently go over your hair. You’ll notice that it’s straight, smooth, frizz-free, and glossy.
This technique works for most hair types; however, if you have very curly, thick hair, you can’t expect to achieve the same result you would with a hair straightener.
Check out our girl Brittney as she goes through the entire process:
FAQs on Hair Wrapping
How can I keep my hair straight overnight without wrapping it?
You can try a few other methods to keep your hair straight, but you might not find all of them equally successful. Some of the best ways to straighten hair without wrapping it include:
- Try a straightening treatment
- Sleep on a silk pillowcase
- Avoid humidity
- Put your hair up in a loose bun
- Go to bed with completely dry hair
Wrapping Up…
Now that you know how to wrap straight hair at night, are you ready to grab your bobby pins and silk scarf? If you want to avoid applying heat to your hair but still long for that straight ‘do, then this wrapping method is perfect for you.
Although this wrapping technique will straighten wavy and curly hair, it might not always give an ideal result for especially thick or coarse hair types that are hard to straighten in general.
0

