Single-process color — what is this all about? You might have heard the term being thrown around in the salon or in Brad Mondo videos and you might be wondering what it means. But even if you don’t know the term, I bet you have seen this coloring technique or even had it done on your own hair!
This expression is used to refer to any one-and-done hair coloring process, and while it most commonly means dyeing all of your hair with one color from the roots to the ends, it can actually include any coloring technique that’s done in a single session.
There are so many hair coloring techniques that you can choose from — the single-process, double-process, ombre, balayage, highlights, and so on. They all have their advantages and disadvantages, but the single-process one is the least expensive and easiest to achieve if you compare it to the rest. This is why it’s such a popular DIY hair color technique for non-pros.
Today, I will tell you everything you need to know about the process itself, how to use it on your hair, as well as how to take care of your hair after using a single-process color. By the time we get to the end of this guide, you will know exactly what you need to do to use this process on yourself. Just stick to my tips and tricks on single-process color for hair, and your hair will look better than ever before.
Table of Contents
Examples of Single Process Hair Coloring
All-Over Permanent Color
A single process all-over color is where you use one color only to cover your entire head of hair. If you decide to go with the all-over color, you can make your hair several shades darker or lighter. You can also use it to cover gray hair or to make your existing hair color more vibrant. That can already be a big change for you, especially if you have never colored your hair before.
However, if you want to do a more drastic change and, say, go platinum blonde from a darker color, you hair will need to undergo bleaching and toning, thereby making it a double process color.
Anyway, this single process is much simpler than some of the other single process techniques like basic highlights and balayage — which require much more attention, precision, and technique. If you do not have any experience with hair coloring, I don’t recommend you try these at home without the help of a professional.
But an all-over color, this is a single process you can easily do by yourself. There are still several things that you should keep in mind, as well as some details about the technique that you should know to achieve the timeless, flawless hair color.
There are a lot of advantages that can convince you to do the single process. It is much faster and way less expensive than some of the other coloring techniques. However, you should be aware of the disadvantages as well. For example, you will need to do some retouching to the roots every four to six weeks, and you will also need to retouch the overall color to make it more vibrant.
If you are still not completely sold on this, I will walk you through the process of using this hair coloring technique so that you can see just how simple it is and how easily it can give you the perfect hairstyle that you have been dreaming of. Keep reading to see a step-by-step how-to guide.
Highlights and Lowlights
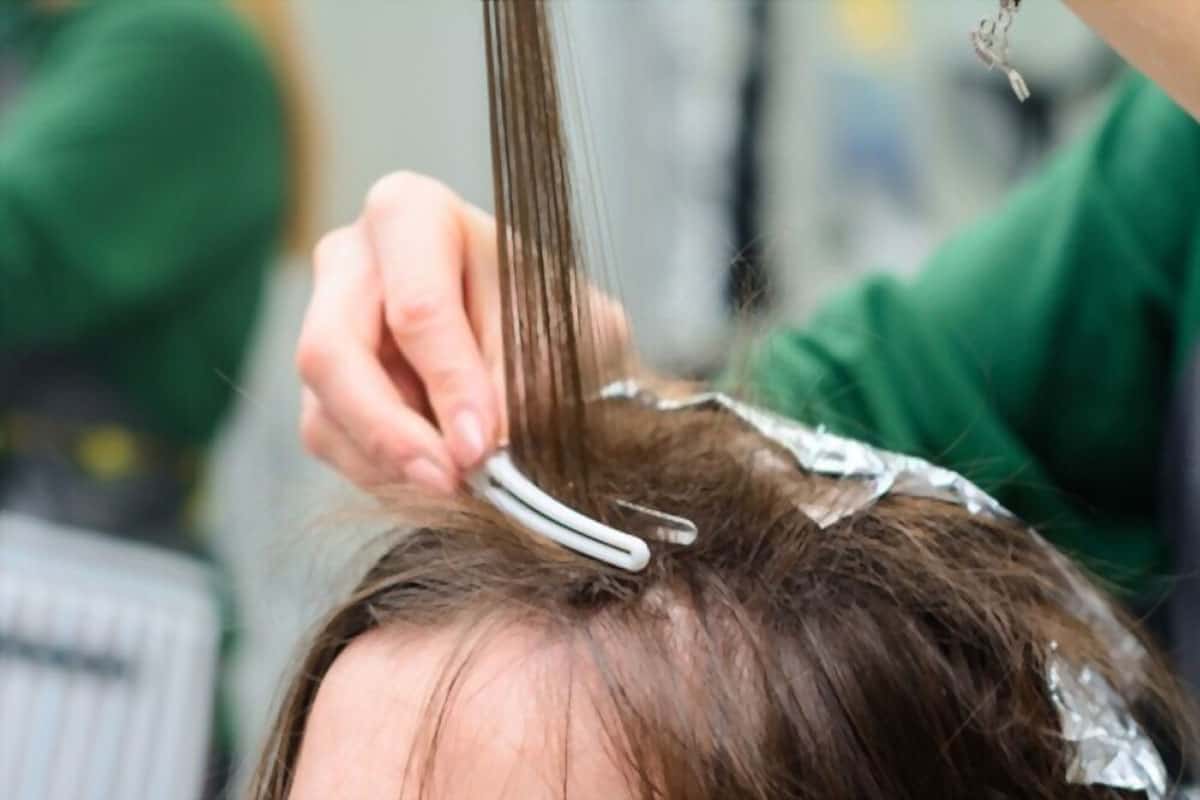
What is single process color but just a one-time application of color? It doesn’t matter if you apply it to the whole head of hair or just parts of it. As long as it doesn’t require any toning or glazing afterwards, highlights and lowlights can still be considered single process.
So, yes, Virginia, there is such a thing as single process highlights. This includes your basic foil highlights as well as chunking and balayage.
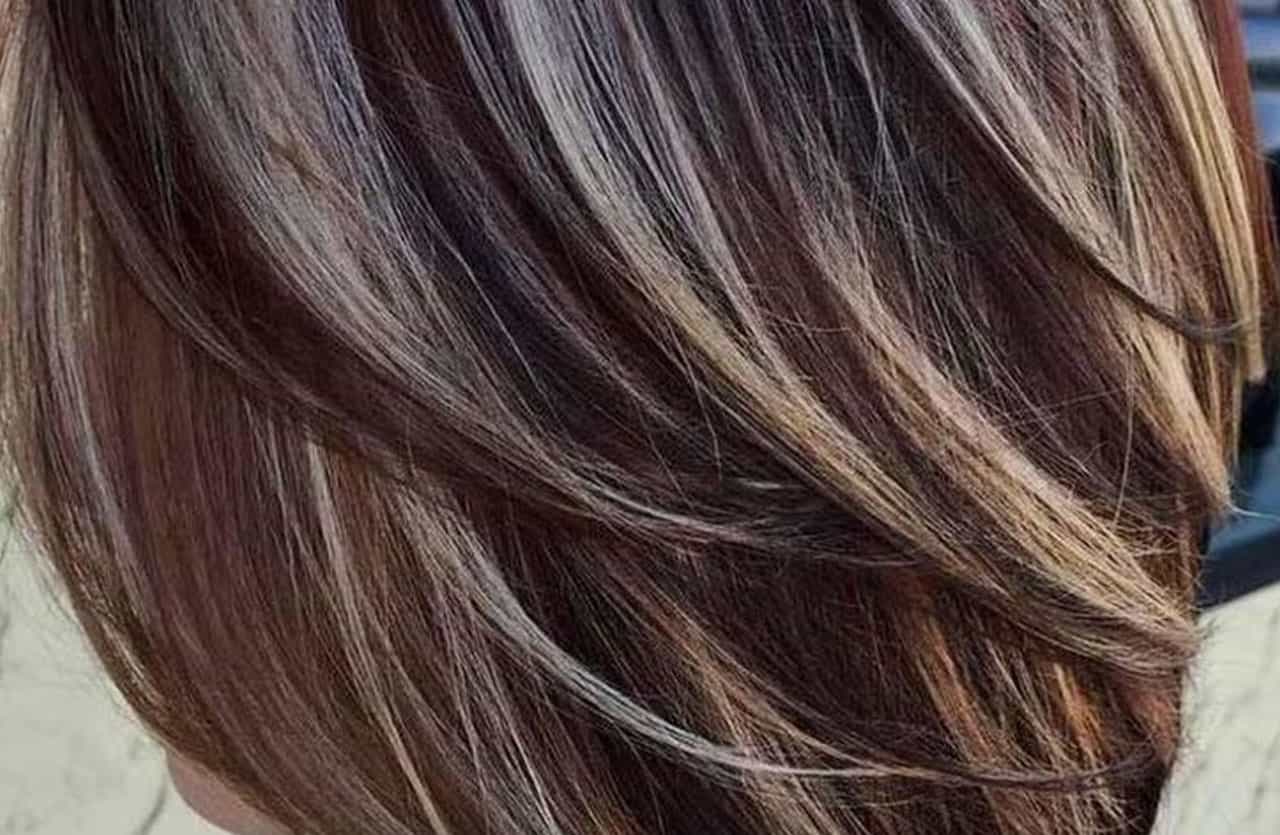
Highlights involve lightening (or in the case of lowlights, darkening) pieces of your hair a few shades from your existing color to create some definition and dimension. This is a great option if you don’t want to change your hair color but want to enhance it or add some interest.
But as I mentioned before, these techniques require some higher-level finessing and I wouldn’t recommend them for inexperienced non-professionals.
All-Over Single-Process Coloring: Step-by-Step Guide
As I said, the single process is something that you can do by yourself once you know the proper steps. It is always a good idea to have a professional colorist do your hair for you, but if for some reason you do not want to do that, you can always do your own hair.
Preparation
When you decide to color your hair, you need to get all the products and equipment before getting started.
You will need an old t-shirt to wear, gloves, a dye bowl, an application brush, and a hair dye kit. If you have longer hair, it might be a good idea to pick up an extra hair dye kit to avoid running out of color in the middle of the process.
Another thing to keep in mind is that you should not wash your hair on the day of coloring. It is best to wash your hair several days before coloring it. Also, don’t use any masks on it. The oils in your hair will help protect your scalp during the coloring.
These are the essentials when preparing your hair for coloring. Once your hair is all set, you can get going with your single process. Here is what you need to do:
Step 1 – Brush Your Hair
First of all, let your hair down and comb it, making sure that there are no tangles in it. When you have completely detangled your hair, you can proceed.
Step 2 – Section Your Hair
Divide your hair into sections. You can make as many sections as you need — the more sections, the more thoroughly you will be able to apply the color.
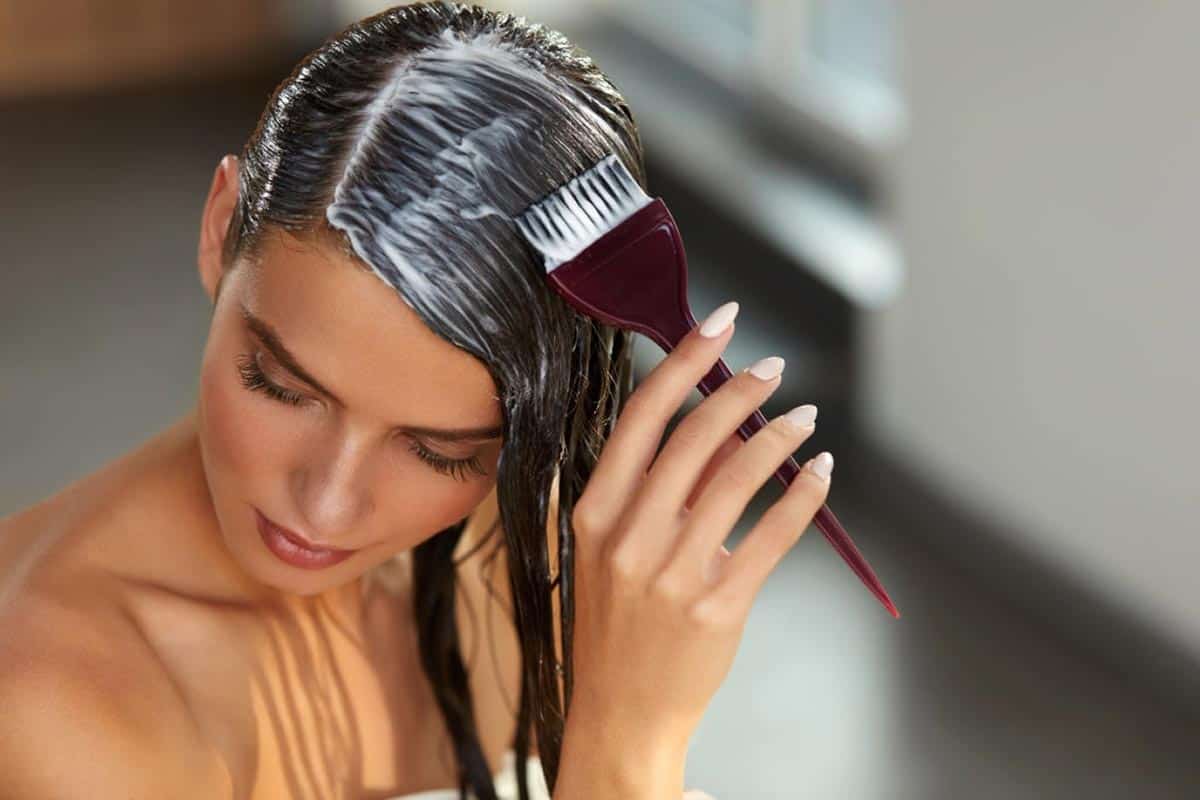
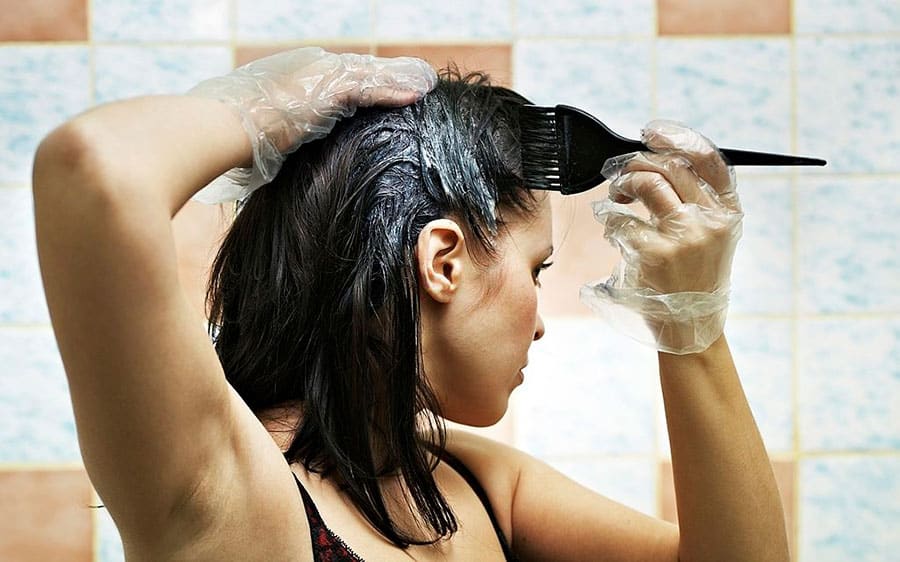
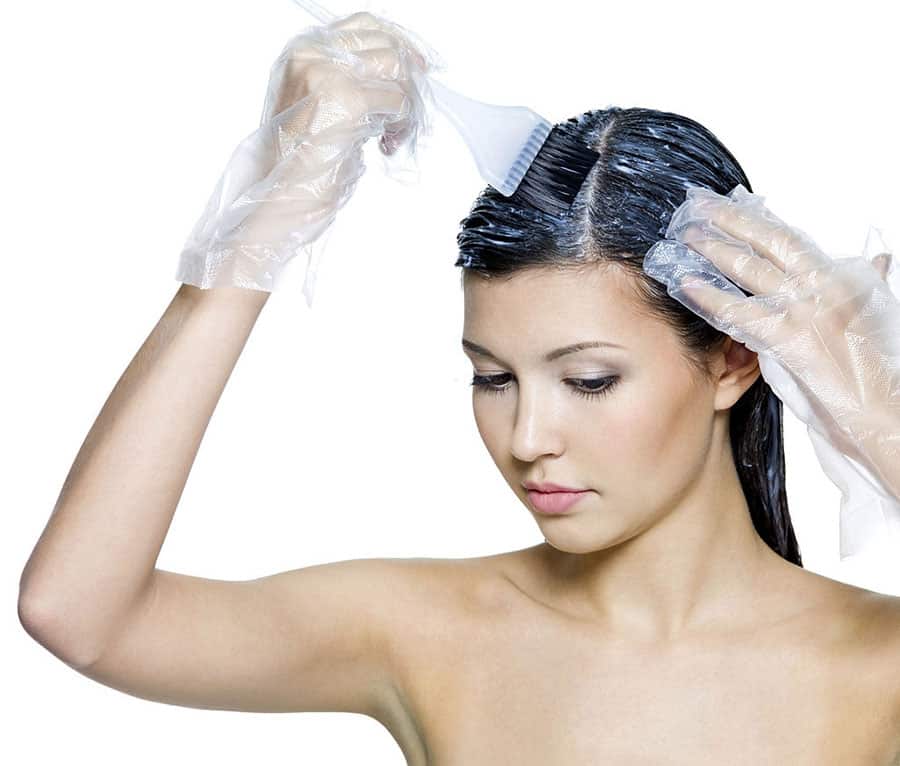
Step 3 – Dye Section by Section
Take section by section and apply the hair dye from the roots to the ends. You should apply the dye on the roots first, wait 20 minutes and then add dye on the rest of your hair strands.
Step 4 – Wait It Out
Read the instructions of the hair dyeing kit carefully. Keep the hair dye on your hair for as long as the instructions state — anywhere from 30 to 45 minutes.
Step 5 – Rinse and Condition
Once the dye has been in your hair for as long as instructed, wash the hair dye out. You can deep condition your hair or use a hair mask to make it softer.
That is all that you should have to do to style your hair using the single-process color technique. With this process, your hair will look more vibrant and healthy. However, you will need to learn how to care for your new colored hair to keep that vibrant look for longer.
What Is Single Process Color Maintenance?
Colored hair requires special care. There are certain things that you should do to your colored hair to keep it from becoming lifeless and damaged. In case this is the first time you are coloring your hair, here is what you need to know about maintaining it:
Cut Down on Washing
After coloring, you should not wash your hair too often. If your hair gets greasy fast, you should try using dry shampoo and washing it only a couple of times a week.
Use Special Shampoo and Conditioner
Use shampoo and conditioner that are specifically designed for colored hair. You can even consider adding some dye to the conditioner so that you can retouch your hair every time you wash it and keep the color fresh and vibrant.
Use Lukewarm Water Only
Do not use too hot water when washing your hair. This can leech moisture from your, making it look less lively and healthy.
Avoid Using Heat
Use heat tools less often to style your hair. After coloring your hair, you should steer clear from flat irons, curlers, even blow dryers. If you must use one of these, make sure to add heat protectant spray to your hair before using it and try to use low temperatures.
Get Regular Trims
Make sure to trim your hair often. Coloring hair can lead to some damage, especially at the ends where the hair is thinner. Your hair will look much better if you trim it every six to eight weeks.
Touch up the Roots
Root touch-up is probably the most important aspect of maintaining your new hair color. When you use the single-process color, you color your entire hair in one uniform color. That means that once new hair starts to grow out, there will be a clear line between the colored part and the new hair.
When you see that new hair is starting to grow out, you should retouch your roots. If you’re an experienced at-home DIY hair dyer, you can do the retouching using a root spray or root powder. However, this can be difficult to do by yourself. If you’re new to hair coloring or just don’t want the hassle of blending new hair with colored hair, seek professional help.
Do a Root Shadow
If you want to save yourself from regular trips to the hair salon while at the same time saving a bit of money, you can always try a root shadow.
Root shadow is a type of coloring technique that you can easily use on your hair. It includes coloring the root area to match your natural hair color or a color darker than the rest of the hair, then blending that in with the existing color that you have.
The root shadow is also a good choice for those who want to grow out their single-process color and transition smoothly back to their natural color.
Single-Process FAQs
Now that I have told you all you need to know about single-process color, I’ll answer some frequently asked questions on the topic. These will help wrap things up and give you a clear idea if you want to do the single process or not. Here are the questions:
How long does a single process last?
The single-process color should last for months, even years, if you do it with permanent hair dye and keep up with maintenance. However, you will need to retouch the roots and overall color every six weeks.
If you take great care of your color, you will have vibrant hair for months before you need to color it again. Don’t forget to put some hair dye in your conditioner to save you from frequent touch-ups!
How much is a single-process color?
A single-process color may cost you anywhere from $50 to $70. This price can vary depending on the state of your hair, its length, its texture, the experience of the hairstylist, the location of the hair salon, and more.
If you want to avoid the costs and decide to do a single-process color at home by yourself, make sure to do enough research and get everything you need for the process before starting.
Which is more damaging, highlights or single-process color?
Most stylists agree that highlights are more damaging than single-process color because you often need to use bleach to make highlights. The bleach will damage the hair way more than regular hair dye will.
A Classic Is Never out of Style
The all-over single-process color has been and will always remain a classic look. It does not require that much maintenance, it is cheap, and it is something that you can do as a DIY project.
The single process color can be a great way to restore life to your hair, making it look healthier and more vibrant. You can enhance the color, make it a few shades brighter, or darken it using only the steps that I mentioned here.
I hope that this guide helped you make your decision on whether you color your hair using the single process or not. If you have any experience with this coloring process or maybe some tips on it, please share them in the comments below!
1