Every so often, all of us need some kind of change — it can be a change in the way you dress or do your make-up, but more often than not, what most of us like to change is our hair. From length to styling and color, there are so many things that you can do to your hair, but one of the most popular hair trends recently has been ombre hair. Today, I will tell you more about how to ombre hair at home by yourself and achieve gorgeous results!
I have always loved doing different things to my hair, and every so often, I will either cut it short or dye it in a funky color. Having tried out almost everything on my hair, I can honestly say that the ombre is my all-time favorite. This color effect is perfect for everyone, and it can be combined with any natural hair color to give it a nice touch-up and give you the glow-up you deserve!
If you have been wondering whether to try the ombre look on yourself, don’t wait any longer! Today, I will tell you how to achieve this fantastic hairstyle and make it look as natural as possible through only a few short steps. So, get ready to give yourself the best hair makeover ever!
Table of Contents
How to Ombre Hair: The Steps
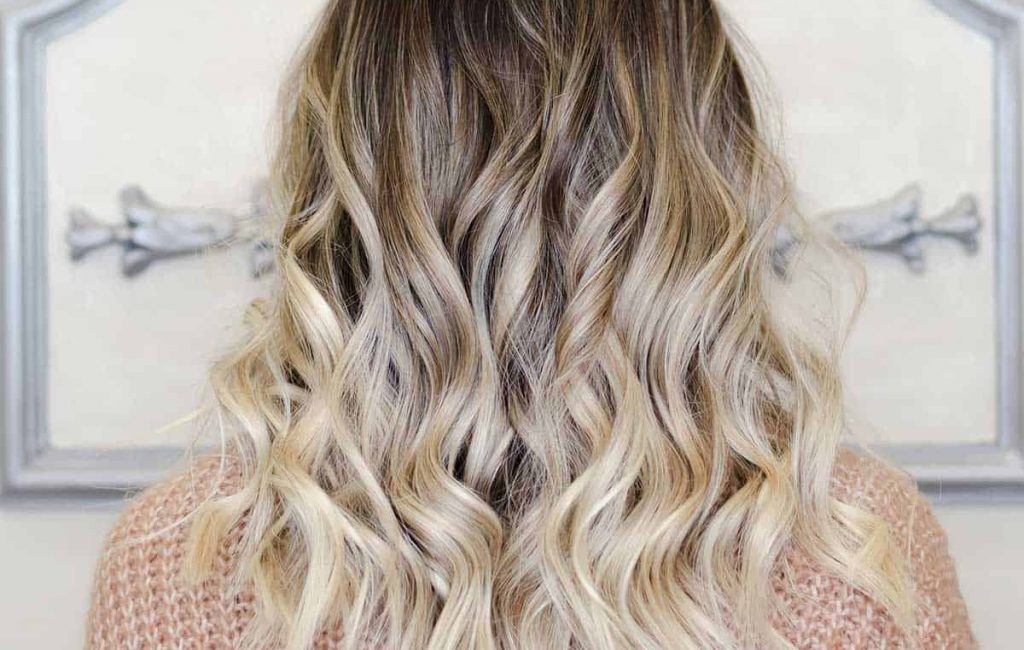
If you are wondering how to do an ombre on your hair, you have come to the right place! But before I tell you more about the steps, I’ll explain what ombre really means. Ombre hair is essentially blending one hair color or shade to another, from the roots toward the ends, creating a two-toned effect.
With this hairstyle, there are two combinations that work best. First, you can try leaving the roots in your natural color and lightening the rest of the dark. If you do this, you will save yourself from having to retouch the roots every few weeks.
On the other hand, you can try to change the color of all your hair, give yourself a root shadow, and then lighten the rest of the hair. No matter which option you choose, the color combinations are something you should think about before you get to coloring.
Do some research on what products are recommended for your hair type since there can be slight differences between different hair colors and colored vs. natural hair. I will talk more about this as I go on with the guide. Now, let’s get started with the preparation process!
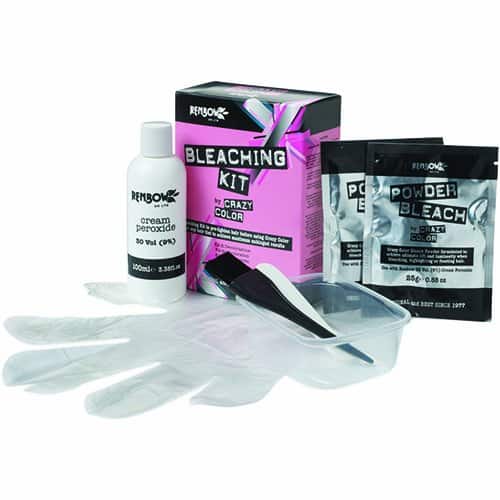
Step 1: Prepare Your Materials
Get yourself the following tools:
- a dye brush and bowl
- hair clips
- gloves
- comb
- aluminum foil cut into smaller pieces, about 6 inches (15cm) wide, that you can work on and fold
You will also need the following hair products to do the ombre:
- developer
- powder lightener
- hair color
- toner
- hair conditioner
- maybe some hair treatments
I strongly advise you to wear some old clothes while coloring your hair — you do not want to damage any of your favorite clothes with bleach or hair color. Also, you should not wash your hair on the day of coloring — your hair can benefit from natural oils, so you should leave it unwashed for at least a couple of days before coloring.
Now, put your gloves on, and let’s get started with mixing the bleach.
Step 2: Mix Your Hair Color
In the dye bowl, mix the powder lightener and the developer. Depending on your current hair color, you can decide between using 20, 30, or 40 volume developer. A safe bet is to go with one round of 30 volume developer and then do a second round with 20 volume if your hair is not light enough.
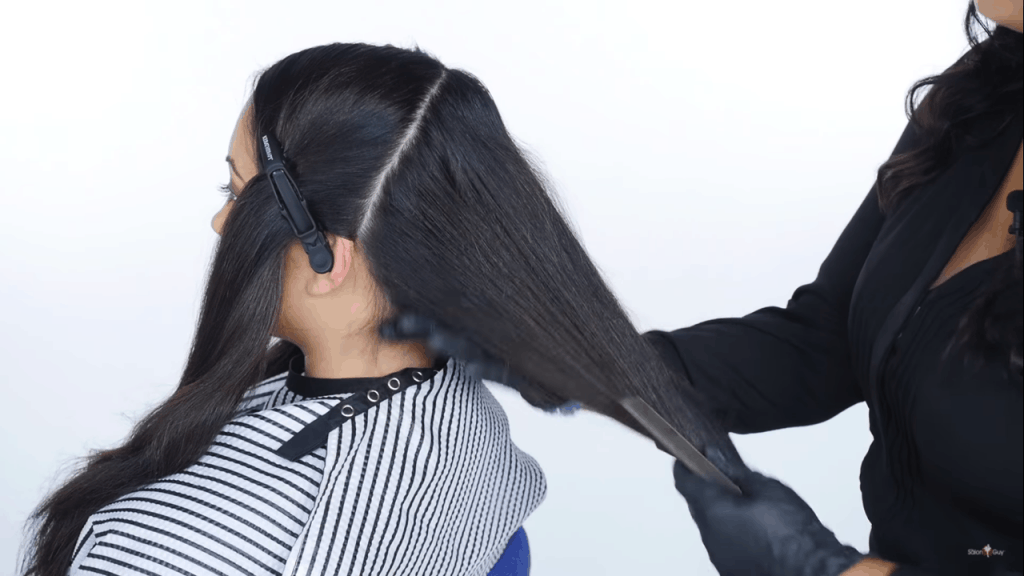
Step 3: Section Out the Hair
Brush out your hair and make sure it is not tangled anywhere. Then, divide it into small sections that will allow you to easily color the hair. Using the hair clips, keep the sections away from each other.
Step 4: Lighten the Hair Ends
Take one section of hair, put one piece of foil underneath it, and decide where you want the ombre to start from. Using the brush, start applying bleach from the part of the hair where the ombre will start all the way down to the ends. You will want to avoid making a strong line between the natural hair and the ombre, so using your finger, you can add bleach to a few strands from a higher place.
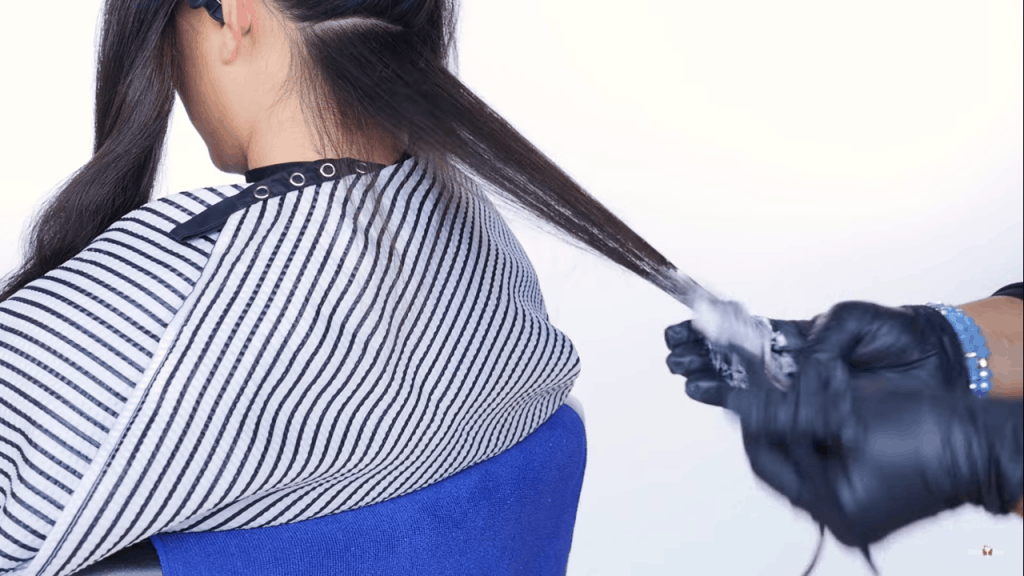
Apply a bit more bleach to the ends if you want to make them a more intense, lighter color. Then, fold this section in the aluminum foil and leave it to process for about 20 to 25 minutes. Repeat this for all hair sections and after the hair processes, wash the bleach out with water and shampoo.
Step 5: Color the Hair
If the bleach helped you to achieve the color you wanted, you can skip this step, but if your hair is still not in the color you wanted, you should follow this step as well.
After washing out the beach, dry your hair and section it again. Using the instructions given on the coloring kit, mix the hair color in a dye bowl and get a clean brush.
You can either color all of the hair that you bleached or color only parts of the hair, leaving the ends bleached, to achieve a simple color melt. At this point, you can also fix any harsh lines between hair colors that you might have created during the previous step.
Once you have applied the hair color, leave it to process according to the box instructions.
Step 6: Shampoo and Condition the Hair
Then, wash your hair again and rinse the hair color off.

Coloring and, especially, bleaching can damage even the healthiest hair. This means that you will need to treat your hair with some hair treatments, maybe deep condition it as well. Using a keratin conditioner is a good idea if you find that your hair feels drier after the bleaching.
During this step, you can also use toner to fix all of the brassy tones in your hair. Toning the hair will make it look a bit more natural and healthy while helping you maintain a nice color that will not fade over time.
Frequently Asked Questions About How to Ombre Hair
Now that I have explained how you can achieve a flawless ombre look, let’s talk about some of the frequently asked questions that you might also be asking yourself.
Are ombre and balayage the same thing?
Ombre and balayage are similar techniques, but not entirely the same. With ombre, the placement is more horizontal, with an obvious shift in color from hair root to tip. In a balayage, the color placement is more vertical, with darker-colored hair placed throughout the entire hair strand to create overall dimension. This is the only difference, and the process of creating the hairstyle is pretty much the same.
Can you ombre hair without bleach?
You can leave the bleach out if you are not ready for that commitment. You can use semi-permanent or demi-permanent hair color instead of bleach. These hair colors are temporary — the more you wash your hair, the more the color will come out.
How do I take care of ombre hair?
Even though this hairstyle is very low-maintenance, there are several steps that you can use to take care of your ombre hair and keep it looking flawless for longer.
First of all, you should not wash your hair too often, but when you do, you should deep condition it and use a hair mask for colored hair. You can also benefit from using color-proof hair products. Last but not least, you should not style the hair as often with hot tools as they can further damage the hair.
Enhance Your Overall Look with Gorgeous Ombre Hair!
The ombre hair trend has been around for a long time and will probably not go away for many more years. This amazing, low-maintenance hairstyle could be the change you have been wanting for so long, and you can achieve it by following the easy steps in this guide.
I hope that you learned everything you need on how to ombre hair at home. Let me know in the comments if you tried out this simple ombre technique!
0