You wanted something new and different and bought a box of at-home hair dye to achieve it. Simple, right? Well, maybe not. Unfortunately, coloring our hair at home isn’t as simple as the commercials make it look, and more often than we’d like, the result is a patchy hair dye job.
If you’ve dyed your hair but are left looking at uneven roots, orangey spots, or general meh-ness, then don’t panic! Despite the word “permanent” on the box, most at-home hair dyeing snafus are actually very easily fixable.
In this article, we will explore common at-home dyeing mistakes that lead to uneven color, tips for fixing a patchy dye job, and ways in which you can avoid uneven color in the future.
Table of Contents
What Causes Uneven Color?
Unfortunately, dyeing your hair at home is not a foolproof task. There are many ways in which it can end up looking patchy and uneven. But being aware of some of the most common causes of patchy dye jobs can go a long way in avoiding such a result.
Patchy Color to Begin with
If your hair already has uneven color, then simply dyeing it again may create even worse results.
This is especially true if you are attempting to bleach your hair or dye it a lighter color.
Ingredients Aren’t Thoroughly Mixed
When you open the box of hair dye, you will find two things: developer and dye. Together, the two ingredients create the color and bind it to each individual strand of your hair. But to work properly, they must be mixed evenly.
If you apply dye that contains too much of the actual dye, then that section of hair will appear darker. On the other hand, if you apply dye that contains too much developer, you will end up with strands that appear lighter.
Reading the directions provided on the product’s box is a must, and following them to a T can avoid a patchy dye job.
Incorrect Application
Dyeing your hair at home is not a quick process, though it’s tempting to speed it up a little by cutting corners during application.
Some common application mistakes include:
- lathering the dye into the hair like shampoo
- dyeing the roots first
- missing strands, especially towards the back of the head
- not keeping track of your starting point
To avoid these common hair dyeing mistakes, be sure to follow the directions on the box as closely as possible. Take the time to section off your hair, and ask a friend or family member to help you get those hard-to-reach strands in the back.
Be sure to also check out this article’s section on “How to Apply Hair Dye Correctly” below.
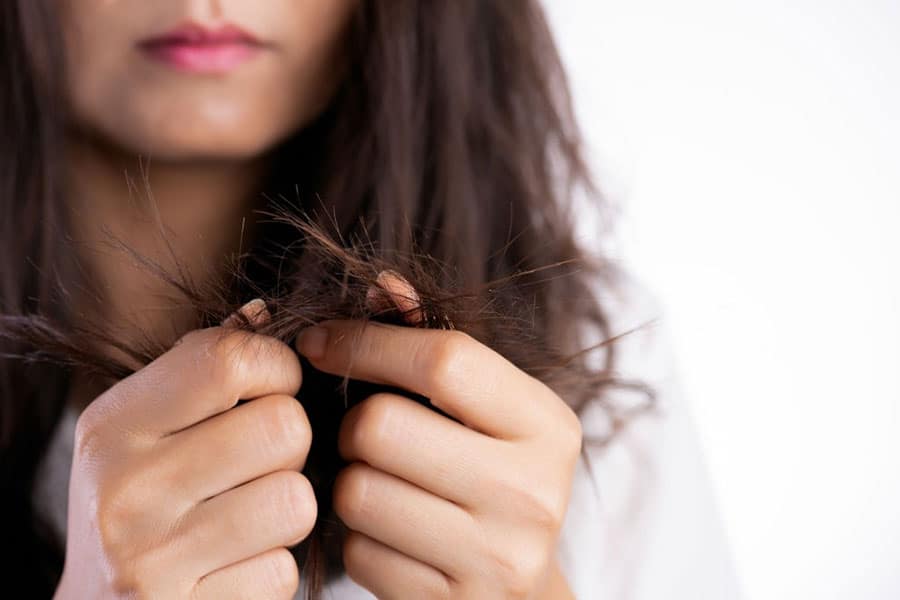
Damaged Hair
Hair dye works by penetrating each hair cuticle, entering the hair cortex, and reacting with your hair’s melanin to permanently change its color. If the dye cannot work properly because your hair is damaged or too dry or if only some of your hair cuticles are open, then the result is bound to be patchy and uneven.
About one week before you intend to color your hair, it’s a good idea to start preparing your hair and ensuring it is as healthy as possible.
Do two to three deep conditioning treatments, or use a hair mask to condition the cuticles.
If your prior dye job included bleaching and/or going lighter, then start applying a bonding agent to open up the cuticles. Open hair cuticles are more porous and therefore absorb color more evenly.
It will also be helpful to reflect on your original process. Did you miss a step? Knowingly cut a corner? Figuring out the cause of your patchy dye job will help you avoid the same outcome in the future.
How to Fix Patchy Hair Dye
The best way to fix your uneven color will depend on where your color is patchy.
All-Over Patchiness
If you notice patchiness and uneven color throughout your head of hair, then it is likely that your ingredients were not mixed thoroughly enough. Fortunately, this is an easy fix.
First, grab another box of the same color you used previously, and mix it as well as you can. Don’t be afraid to put some muscle into it — remember, you can’t overmix it!
After re-reading the directions, reapply the dye throughout your whole hair.
Hair cuticles that took the color properly last time will not be affected by the new dye, but the parts of your hair that were patchy will absorb this new dye and look normal.
If Your Roots are Uneven
If you were attempting to bleach your hair or dye it a lighter color, then you may have ended up with roots that are lighter than the rest of your head. This is unnatural looking and happened because you added the dye to the roots too soon.
To fix roots that are uneven in color, simply purchase a dye color that is one shade lighter than the color you used originally. Then apply the dye to only the roots.
This will either even out your roots or make them slightly darker, either of which is more natural looking than lighter roots.
Orange or Yellow Spots
A brassy finish with spots that appear orange or yellow occurs when your dye had too much of a warm tint.
If the dye you used on your hair was semipermanent, then use a lavender-hue shampoo for the next couple of days. Clairol’s Professional Shimmer Lights Shampoo is highly recommended by many stylists.
But if your dye was a permanent formula, then you will need to take a few extra steps. Find a shade of dye that is two tones darker, then apply it to just the spots that are orange or yellow.
For future dyes, it will be better to stick with cooler tones with a blue base.
And remember: If fixing your hair on your own feels overwhelming or you are unsure about what went wrong, it is okay to make an appointment with a professional. A professional hairstylist will have the tools and expertise to strip the color from your hair and begin anew.
How to Apply Hair Dye Correctly
Maybe you are reading this before your first at-home dye job and seeing what it is you need to avoid, or perhaps you have just repaired a mistake and want to know what to do in the future. In either case, we have the four most important steps to remember to properly apply hair dye.
1. Start with Healthy, Even Hair
To ensure the hair dye can bind to your hair evenly, you will want to start with hair that is as healthy and even as possible.
If you know your hair is very damaged, then it’s best to wait or to consult a professional instead of dyeing your hair at home. It is not unheard of for hair to break off if too damaged.
Consistently using a bonding agent on your hair will ensure that your hair cuticles are all closed and undamaged. If some are open, then the dye will likely appear darker in some spots.
Pro tip: Avoid washing your hair for at least two days before dyeing it. This will allow your scalp’s natural oils to keep from irritating your skin too much.
2. Mix Your Dye Thoroughly
If you do not mix the hair dye properly, then uneven color is practically a guarantee. Be sure to read and re-read the directions on the box.
Follow all of the steps, and double-check the correct volume.
If dyeing your hair in the past has caused your scalp to burn at a hardly bearable level, you can blend in a single packet of Sweet‘N Low to slow down the drying effects of the ammonia.
You can’t overmix the hair dye, but you can definitely undermix. Don’t be afraid to whisk the bowl or shake the bottle with all of your arm energy.
3. Test a Strand
Before you dive into the dyeing process, take the time to test a section of hair that is about a quarter-inch thick.
If you have very fine hair, the dye may dry up to ten minutes faster than the box’s directions state. If your hair is coarse or dry, then your hair may need the recommended time stated on the box.
By test dyeing a strand of hair first, you can work out the proper timing for the rest of your head.
4. Apply
The way in which you apply your hair dye will determine the final result.
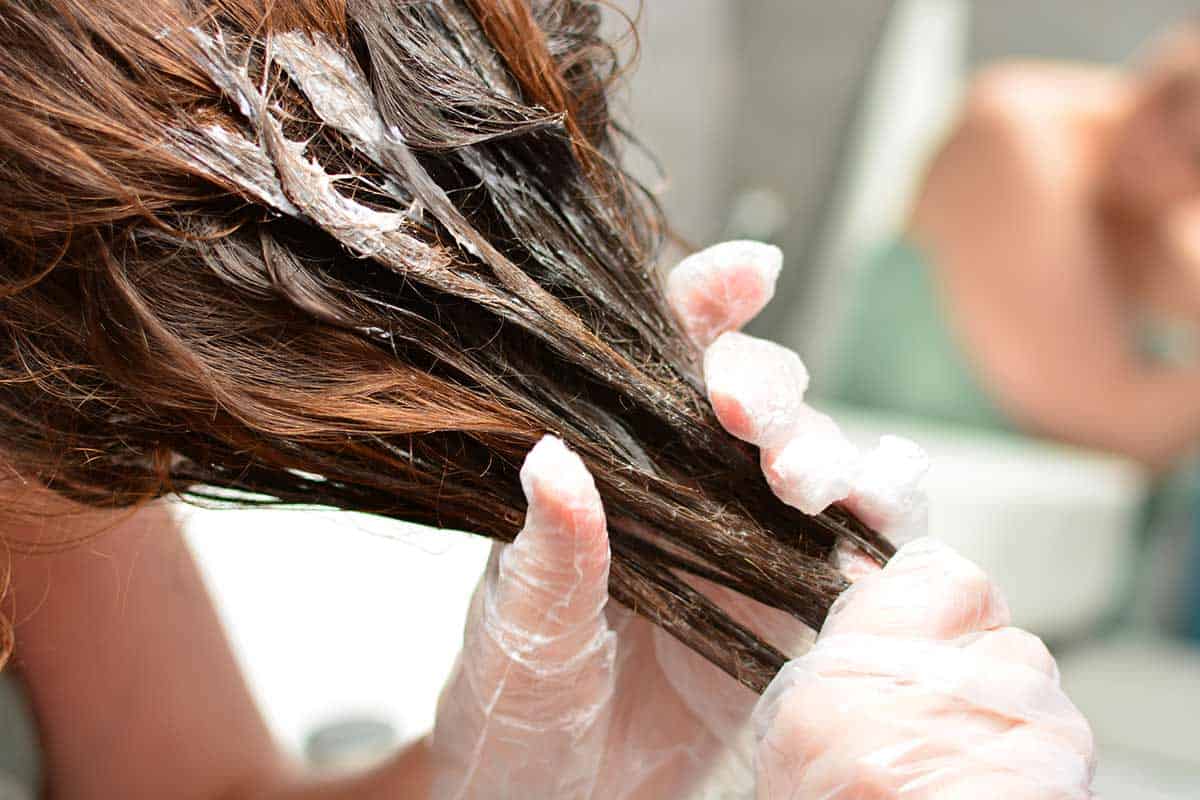
One of the most common causes of a patchy dye job is incorrect application. Instead of taking the proper time, many people make the mistake of lathering the dye into their hair as if it were shampoo. Don’t do that!
Your first step will always be to section your hair.
Start by parting your hair down the middle so that you have one section of hair on each side of your head. Then split each of these sections into two equal parts so that your result is four equal sections of hair. Finally, contain each section with a clip or hair tie.
From here, work with one section at a time, splitting each into quarter-inch strands. Keep in mind that wherever you begin dyeing will likely be darker because it will saturate longer. We recommend you begin with one of the back sections.
Apply dye to each quarter-inch strand. This is a time-consuming process, and it’s not worth rushing it.
Start applying the dye about one-half inch from your scalp, then work your way down towards the ends of your hair.
Your head’s natural heat will dry the dye faster at the root, so don’t cover the roots until about halfway through your overall dye job.
Complete this process quarter inch by quarter inch until you’ve dyed all of your hair.
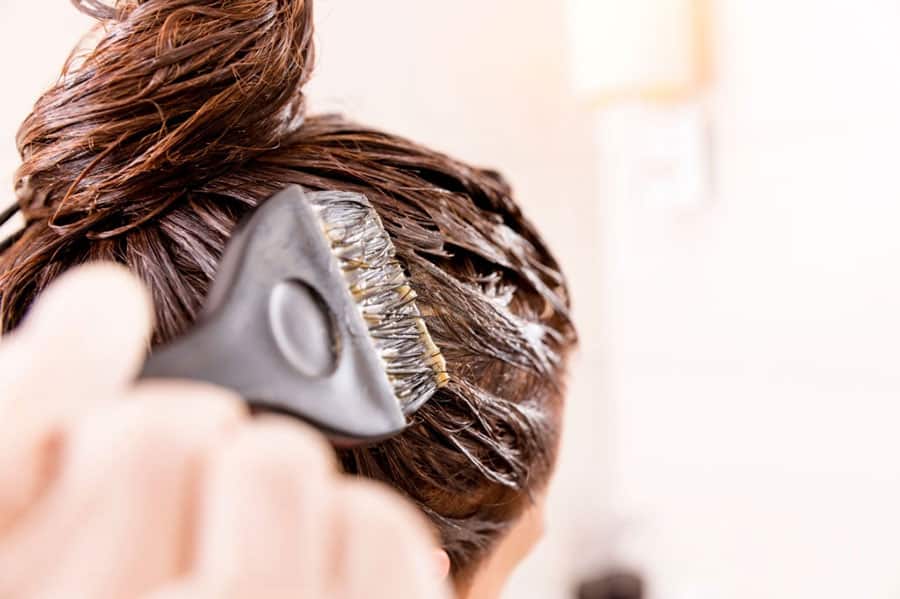
Pro tip: Apply the dye with a color brush so your result looks as professional as possible.
Tips for Caring for Colored Hair
Despite the word “permanent” on the box of hair dye, there are some things you need to do in order to maintain your new color.
- The more you shampoo your hair, the faster your color will fade, so try to wash your hair just two or three times each week
- If you must wash your hair more than three times a week, then skip the shampoo and go straight to conditioner
- Use a hair mask for five to ten minutes twice each week to give your hair a good dose of the nourishment it needs to repair any damage and stay strong
- Heat damages and fades colored hair, so allow your hair to air-dry instead of pulling out the blow dryer
- As hard as it may be, try to keep your colored hair out of the swimming pool (few things strip and slime hair like chlorine)
The Bottom Line
Coloring your hair at home isn’t as simple as waving a magic wand. A lot can go wrong, especially if you fall for common mistakes like not mixing your ingredients well enough, trying to dye damaged hair, or simply not following directions. Fortunately, most hair coloring mistakes are easily fixable and you can easily learn how to fix patchy hair dye at home.
Whether re-dyeing problem areas or utilizing simple household products, you can often have your hair looking natural and evenly colored in just a few steps. And, of course, it’s always okay to seek the help of a professional stylist.
0