If you are someone who likes to experiment with their hair, or at least thinks about experimenting with their hair, then you must have thought about going icy or platinum blonde at some point. Today, I will help you decide whether that extreme paleness is for you by going over all the steps on how to get white hair, the supplies needed, and post-bleaching care.
Before I get any further with this guide, please know that getting white hair is a real commitment, so you should think long and hard before you break out the bleach. To get icy white hair at home, you will need to devote hours of your time to the process and make sure that you are thorough and careful. For those that have naturally darker hair, the process might even take days.
Even though it can be a bit expensive to achieve this look, and time-consuming to maintain it, having icy white hair is going to make you feel as glamorous as a superstar.
After all, a change every now and then can be good for you. If this is something that you have wanted to do but never plucked up the courage to take the leap, now is the perfect time. Stick with me as I take you through the wild-but-totally-worth-it journey of achieving the flawless white hair look!
Table of Contents
How to Get White Hair at Home
From supplies to bleaching and toning techniques, here is everything you need to make your hair perfectly white and icy!
Step 1 — Gather All Ingredients and Equipment
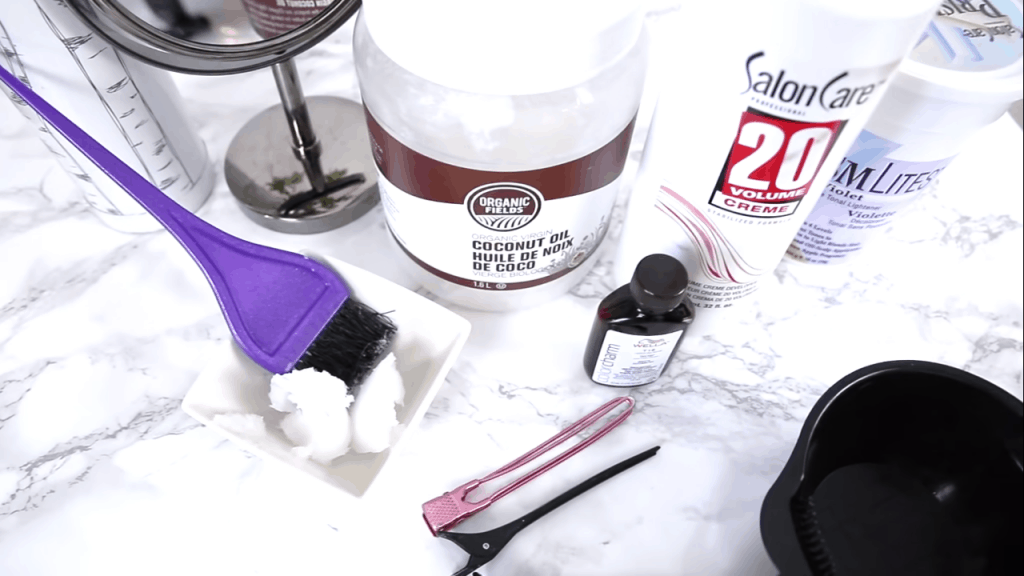
Once you are done with the pre-treatments and you think your hair is ready for bleaching, you should gather everything you need for the bleaching process. Here’s what you need to get your hair white: a mixing bowl, dye brush, gloves (mandatory!), bleach powder, developer, and toner.
When purchasing bleach, developer, and toner, make sure you research and find the one that will fit your hair best. If you have naturally light hair that has not been chemically treated, you should get a 20 volume developer that will lift your hair up to two levels.
To lift it up to four levels, you can use 30 volume developer, while 40 volume developer will lift it up to seven levels. If you have dark brown or even black hair, you might need to do several rounds of bleaching, so be prepared for that as well.
Step 2 — Prepare Your Hair for Bleaching
Bleach can really damage the hair and make it weak. Because of this, you should consider doing some pre-bleaching treatments, like a coconut oil mask or a deep conditioning treatment. With these, you will moisturize your hair before you apply the bleach.
Step 3 – Section The Hair
One of the first steps to get your hair white is learning that you should never do it on freshly-washed hair. Oily hair will protect the scalp from the bleach that can be quite strong!
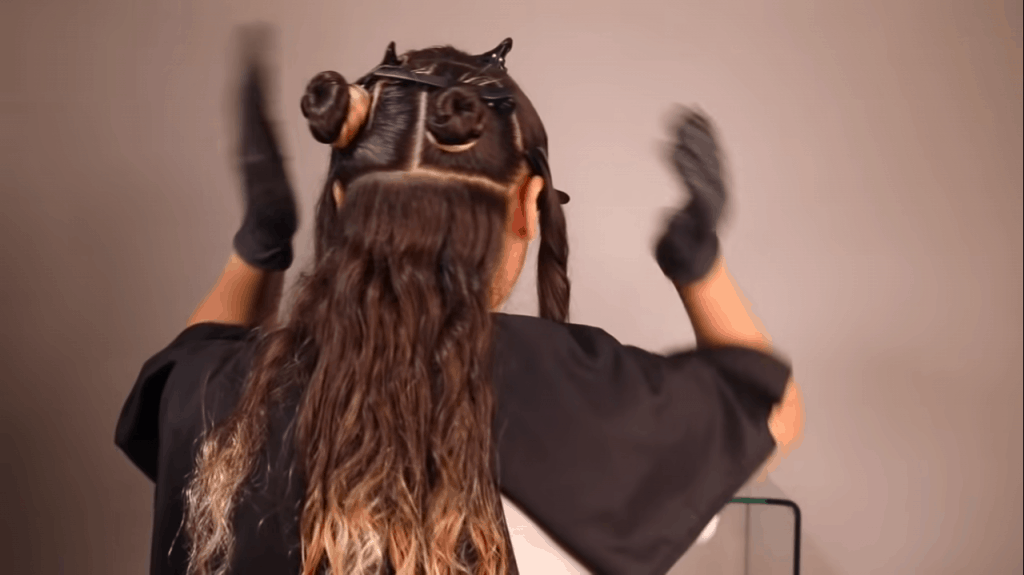
A few days after your last wash, you will be ready for the bleaching process. First, prepare the bleach by mixing the powder and developer. Once your bleach is ready, you should prepare your hair.
Brush your hair and divide it into 6 sections: 2 sides, top, back left and right, and bottom back.
Step 4 — Bleach the Hair
Once you have the hair divided, start applying the bleach section by section. Apply it to the ends first and then return to bleach the roots — the heat from the scalp will cause the bleach to develop faster, and it might give you “hot roots” if you bleach the roots first and then the ends. Do the back sections, then the sides, and the tops, going from the bottom up.
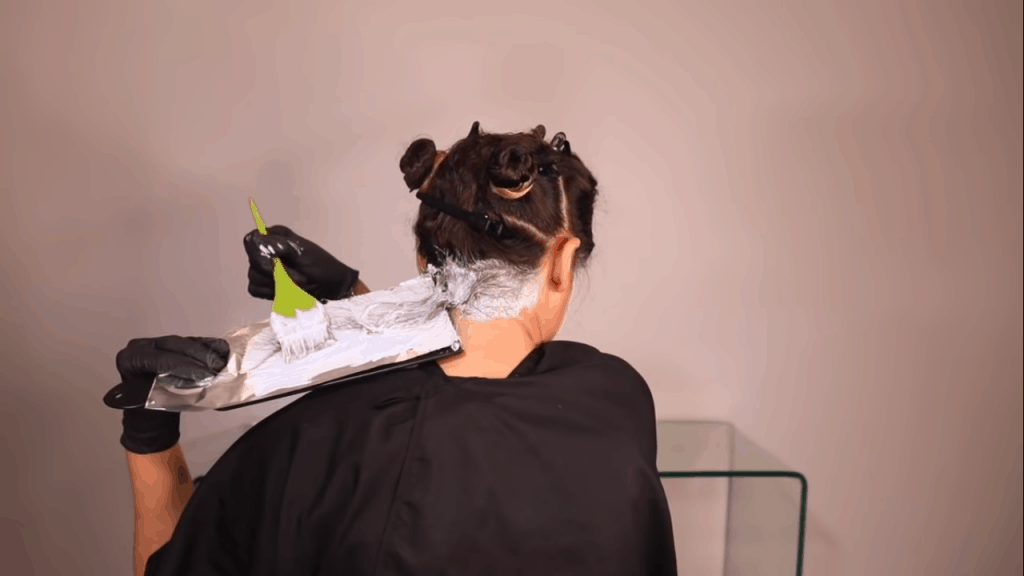
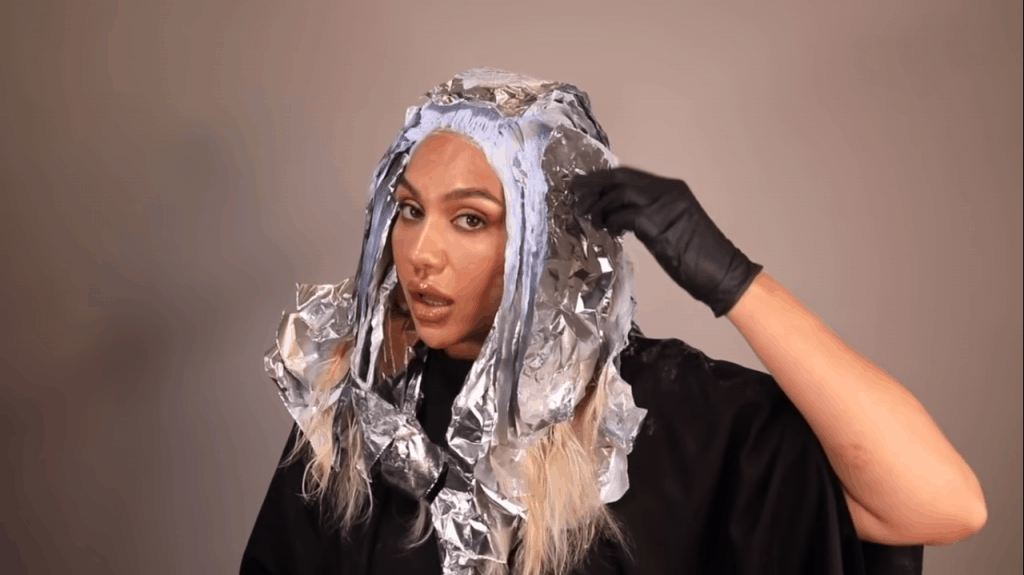
Make sure to apply an even amount of bleach to the hair and cover all your hair — this will help you avoid spotting on your hair. Once you have all this covered, you should let the bleach sit for no longer than 30 minutes.
Step 5 – Rinse and Evaluate Hair
After leaving the bleach on your hair for 20 to 30 minutes, rinse your hair with lukewarm water and shampoo. Make sure that you are gentle with the hair, and don’t scratch the scalp too much at this point. Once your hair is washed, check to see if your hair is light enough before doing anything else.
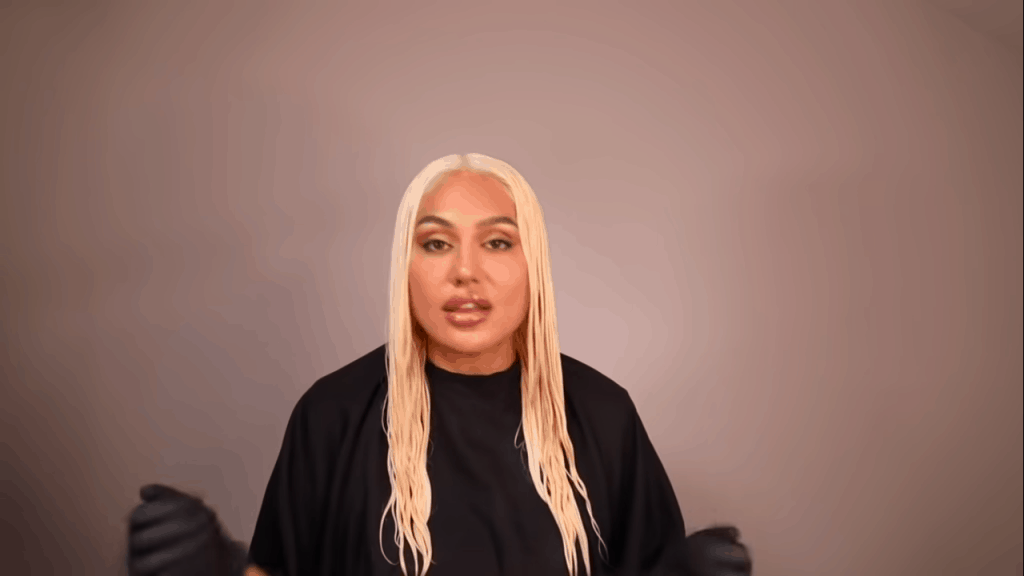
Chances are that you might need two or more rounds of bleach to achieve that light blonde color you want. To avoid damaging the hair too much, you should give your hair at least a few days to recover before going in with the second round of bleach. You can also use Olaplex or Smartbond to further protect your hair from damage.
If you are going in with a second round of bleach, you should not use 40 volume, which can damage your already weak hair too much. It is better to go with something lighter, like a round of 30 volume developer if the hair is brassy or 20 volume developer if you are almost at the desired stage.
Step 6 – Tone the Hair
Once you get your hair to a light yellow, you can proceed with toning the hair. You can choose between a permanent, semi-permanent, or demi-permanent toner, as well as between a neutral, ashy, or bluish.
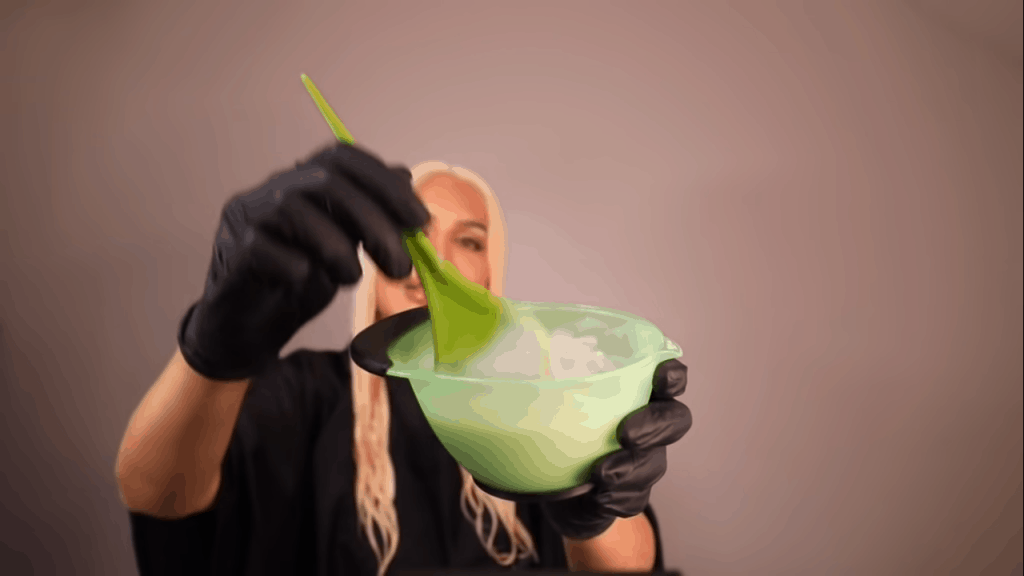
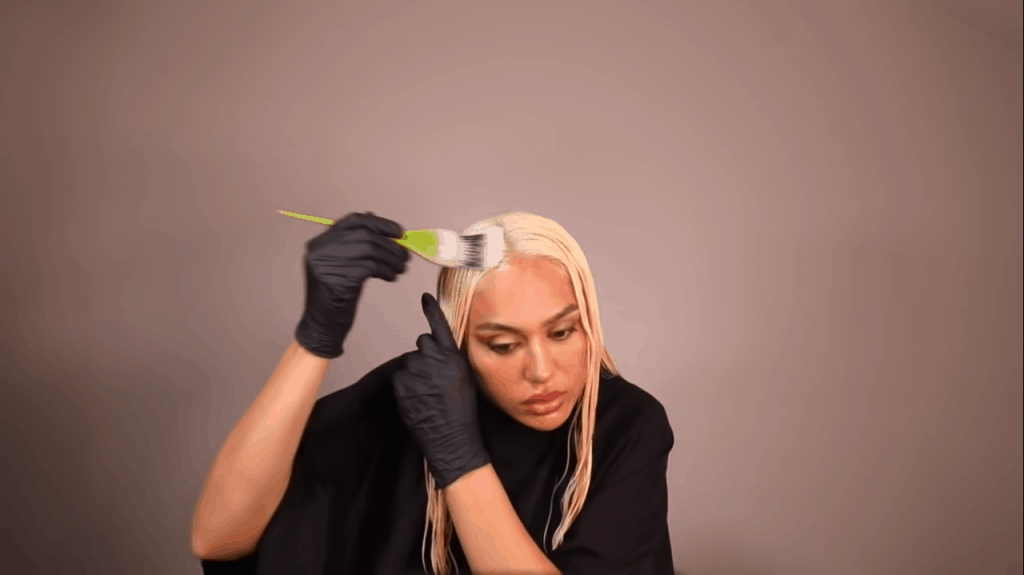
To choose the best toner for your hair, you should study the color wheel and find one that is most suitable for you, depending on what color you want to ultimately achieve. When you have the toner, you can mix one part toner with two parts developer in a bowl and start applying it to the hair.
This time, you should start from the roots and slowly move towards the tips. Chances are that your hair will turn purple, but don’t worry! That is precisely what your hair needs to get rid of the brassiness.
Leave the toner on the hair for about 10 minutes, rinse it, and deep condition your hair. Once you are done with that, dry and style your new white hairdo!

How to Care for White Hair
After learning the basics about whitening hair at home, you have to take care of your hair after all that effort!
As I mentioned before, this hairstyle can be high-maintenance — there are certain things you will have to get used to in order to keep the hair looking nice. Try not to wash your hair as often and use dry shampoo whenever possible. Before washing the hair, treat it with some coconut oil, and when washing it, use purple shampoo to keep the brassiness under control.
You will need to touch up your roots every few weeks and re-tone your hair often as well. What can I say — it is not only about learning how to make your hair white but also learning how to keep it white afterward!
Frequently Asked Question About How to Get White Hair
Let’s clear up any confusion that there might be on the topic of how to get white hair by answering some of the frequently asked questions!
How do I dye white hair without bleach?
If you have naturally light blonde hair, there is a good chance that you will be able to lift it without the bleach. You can make lemon juice spray to lighten your natural hair. However, if your hair is black or dark brown, you will not be able to achieve the icy white look without using bleach.
What toner will make my hair white?
I have seen a lot of people use the Wella toners, and they do a pretty good job at toning light blonde and white hair. If your hair is dark orange after bleaching, you should use the T-14, but if your hair is light blonde, you can go with the T-18.
However, there are a ton of different toners that you could use. You should look into all of them and do the research before committing to one!
Does icy blonde hair fade?
Unlike brown and red hair, blonde hair does not fade. However, it is still very high maintenance and has to be touched up every few weeks. At the same time, you do need to use many products, like toner and purple shampoo, to keep your white hair looking nice!
Give White Hair a Chance — You Will Not Regret It!
Even if you have the lightest blonde hair, going icy blonde can be a big change. This hair color requires some getting used to, but I am sure you will love it!
Follow my detailed guide on how to bleach your hair white and how to care for it after you bleach it. I hope that what I have written will help you achieve the look quickly and easily. Feel free to share in the comments any other ideas or tips that you might have for all those who are still considering getting white hair!
0
