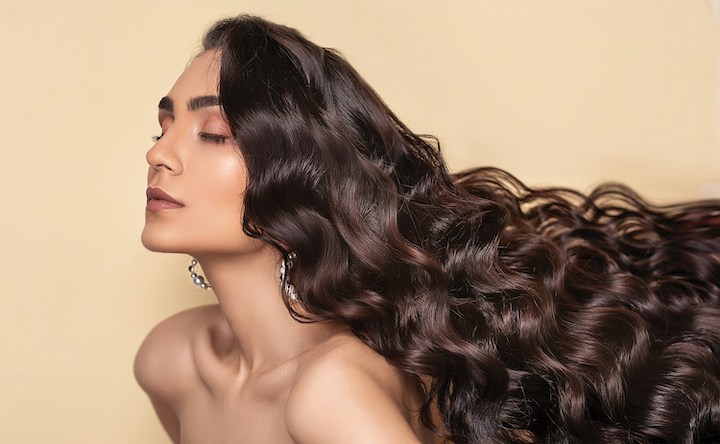
You know those morning when you’d like your hair to look good and put together, but you don’t want to take an hour with three different tools and far too much arm work? I’ve been there too. That’s why I fell in love with hot brushes.
If you’ve never used one before, don’t worry. I’ll take you through it as if we’re standing side by side in front of the mirror learning it step-by-step. In this lesson, I’ll show you how to apply hot brush styling techniques that add volume, smoothness, waves, and even that salon blowout appearance—without all the hassle. And yes, once you learn it, it feels as easy as combing your hair.
Let’s start from the very beginning and see where we go from here.
Table of Contents
What Makes a Hot Brush Different
So, what is a hot brush, exactly?
The best way to describe one is as a blow dryer and brush in one. Some have bristles with heat built-in. Others push warm air through slits. Either way, it smooths and styles your hair while you brush it.
The biggest plus of a hot brush over a flat iron or curling iron? You don’t have to clamp or twist nearly as much. You just guide the brush through your hair, and the heat does the rest. It’s less harsh—and honestly, less damaging.
If you have fine hair that fries too quickly, or dense hair that takes longer to style than a sloth, a hot brush is a kind of happy medium. Quicker than round-brush blow-drying. Gentle as a straightener, but not a straightener. And if you have layers or hair at shoulder-length? Even better. You’ll see the magic right away especially is you use any of the hot brush styling techniques in this article.
Getting Ready: What You Need Before You Start The Hot Brush Styling Techniques
Even before you even plug in the hot brush, there are a few things to cross off your list. Trust me, these little steps make a big difference.
- Start with clean, dry (or nearly dry) hair. Some hot brushes can handle damp hair, but not soaking wet. I usually rough-dry my hair 80% beforehand.
- Heat protectant. Always apply one. Spray it on evenly, especially at the ends. It keeps it from getting dry later.
- Section clips. You’ll need to section your hair into pieces so that you can style it piece by piece.
- Choose the right heat setting. If you have thin or broken hair, stay low. If you have thick hair, you’ll need more heat—but don’t go the highest unless absolutely necessary.
You’ve got everything set up now, so let’s go through some basic techniques that you can try, one by one.
Technique 1: Straight and Sleek
This one’s perfect for when all you need is your hair to look that finished, sleek kind of way—nothing too crazy.
Here’s the way I do it:
- Clip up the top half of your hair so you can work with the bottom layers first.
- Take a section about two inches wide. Place the hot brush underneath at the roots.
- Slowly glide the brush downward, keeping tension but not pulling hard.
- For extra sleekness, curve the brush slightly inward at the ends.
- Move on to the next section and repeat.
Don’t leave it in one spot for too long. Just keep the brush moving. I like to brush every section twice—once from underneath, once from the top—so that its flat and shiny.
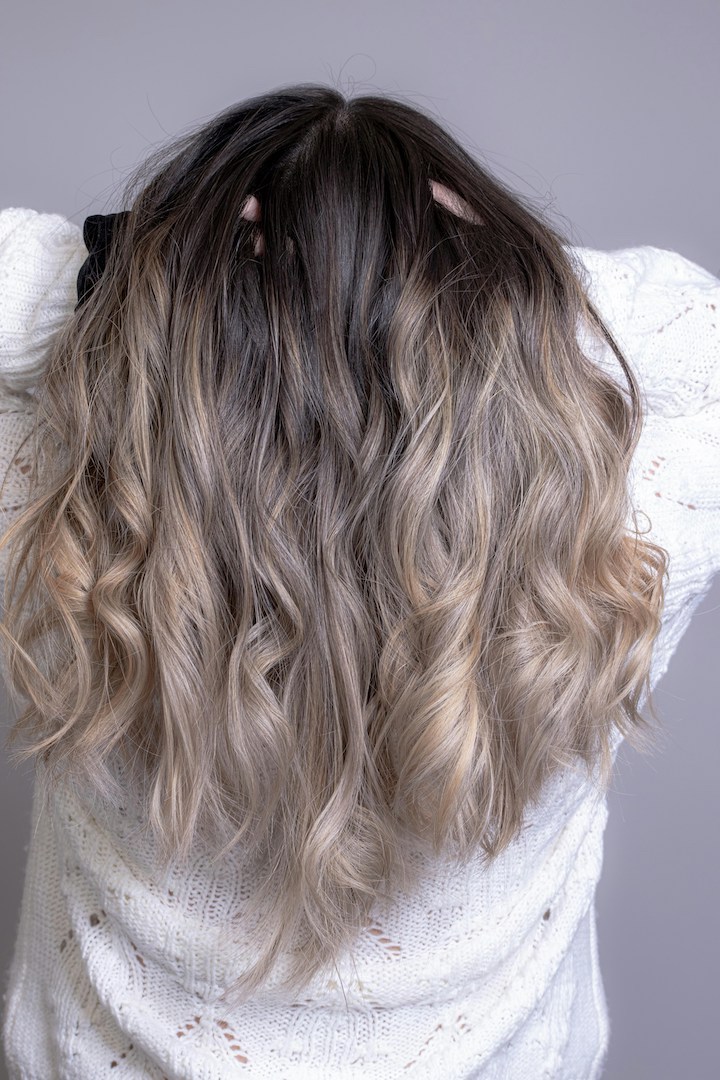
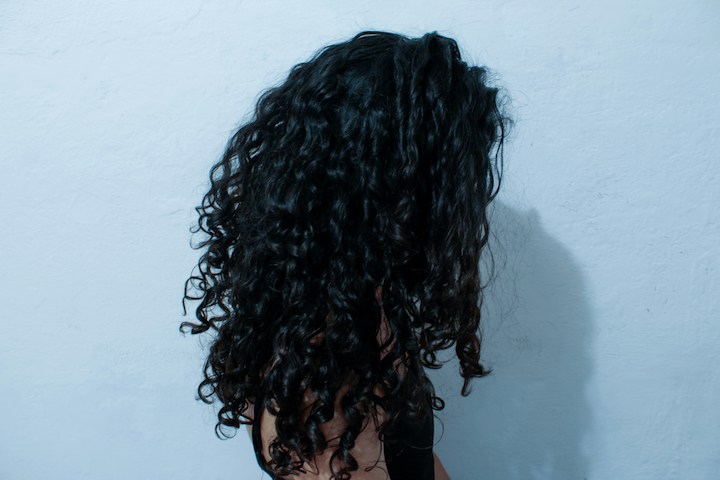
Technique 2: Soft Waves and Movement
Waves are easier than they look. And, no, you don’t need a curling iron to get that done.
Here’s the trick for making those loose waves:
- Take a section and place the brush under the mid-length.
- Slowly rotate the brush as you move downward. You don’t need a full twist—just a slight turn.
- Keep the motion steady. The heat will shape the wave as you go.
- Want waves away from your face? Rotate outward. Want them to frame your face? Rotate inward.
- Let the section cool before touching it. That’s the trick to making it last.
This is a great technique to employ when you want hair that flows but doesn’t have an over-done appearance. You can even alternate directions for the most natural look.
Also Read: Fine Hair Volumizing Techniques That Actually Work
Technique 3: Volume at the Roots
Flat roots? You don’t have to live with them.
Here’s how I add volume that doesn’t collapse by noon:
- Start with a top layer section. Hold it straight up from the scalp.
- Place the hot brush under the roots and lift upward.
- Hold it there for a few seconds, then pull through.
- Flip the section over to the opposite side while it cools—that sets the volume.
It’s a small trick, but it makes a huge difference, especially at the crown. I do this even on days I’m not fully styling the rest of my hair.
Technique #4: The Blowout Look
You know that bouncy, layered finish that makes your hair look like it came from a salon? You can get that at home.
Here’s the breakdown:
- Work in layers—bottom to top. Use the brush under each section.
- As you glide the brush through, roll it slightly at the ends for a flip or curl.
- For face-framing pieces, wrap the brush under and away from your face.
- Let each section cool before brushing through.
The real trick is in the roll. You don’t have to twist hard—just turn your wrist slowly as you go. It takes a little practice, but once you get it, your hair looks fuller and softer with barely any effort.
Technique #5: Flipping the Ends (In or Out)
Flipping the ends gives you a whole new vibe without changing the rest of your hair. It’s a subtle shift that really works.
Here’s how to do it:
- Once your hair is mostly straight, go back to the ends.
- Turn the brush inward or outward at the tips, depending on the look you want.
- Hold the flip for a few seconds, then release gently.
- Comb through with your fingers so it doesn’t look stiff.
I usually flip inward when I want something classic. Outward when I want something more fun or retro. Try both and see what you like better.
Check Out: Hair Oil Application Techniques That Actually Make a Difference
Finishing Up: Lock It In
You’ve done all that styling—you don’t want it to fall flat in ten minutes.
Here’s how I finish everything off:
- Cool it down. Let your hair cool before adding anything to it. This locks in shape.
- Use a light hold spray. Don’t go overboard. Mist it from a distance.
- Add shine or texture spray if you need it. I skip this some days. Other times, it pulls everything together.
The finishing part takes maybe a minute, but it makes everything last longer and look smoother.
Common Mistakes To Avoid
If you are not getting the results you want, it may be one of these:
- Brushing too fast. You must slow down and let heat work its wonders.
- Using it on soaking wet hair. That damages and does not style well.
- Not using a heat protection. Always, always do so. Even when you are short on time.
- Leaving the brush still for too long. That dents or burns hair.
I’ve made every one of these mistakes. Once I stopped, everything got easier.
Taking Care of Your Hot Brush
If you want it to last and work well, a little care goes a long way.
- Clean out hair on a regular basis. Unplug it first and then sweep strands off bristles.
- Clean the brush head. Use a damp cloth when it is cool.
- Store it safely. Don’t wrap around the cord tightly. Let it cool first before storing it.
- Be cautious of heat problems. If it begins to heat unevenly, it may be time to get a replacement.
Most of these take under five minutes, but they keep your brush working like new.
Conclusion
Hot brushes are not magic, but after you get accustomed to them, it kind of feels like it is. You get volume, shine, shape—and it’s all being achieved with only one item in your hand.
Regardless of whether you’re looking for straight and smooth, soft waves, or that blowout at the salon, it requires time and some skillful strokes. And what if your first try doesn’t quite turn out the way you wanted? Okay. Try again. Play around with it. You’ll find what does the trick for you.
And the best part? Once you know how to use it, your hair routine gets faster and easier. No more juggling round brushes, dryers, and irons. Just brush, style, and go.
Frequently Asked Questions
Can I use a hot brush on wet hair?
Only if it’s designed for wet hair. The majority of hot brushes work best on dry or damp hair that is at least 80% dry. Using it on soaking wet hair can damage it and reduce results.
How do I get curls with a hot brush?
Wind hair around the barrel and turn the brush at a slow speed while drawing through. Allow it to cool before you touch it. You will not get tight curls, but loose soft waves are definitely achievable.
Why am I not getting volume out of my hot brush?
You might be moving too fast or not lifting at the roots. Try working in smaller areas and holding the brush under the roots for a few seconds before dragging through.
Will a hot brush harm my hair?
As with every hot tool, it will if you don’t use it responsibly. Always use heat protectant, don’t use it on damp hair (except if it specifically says you can), and don’t use the high setting unless you need to.